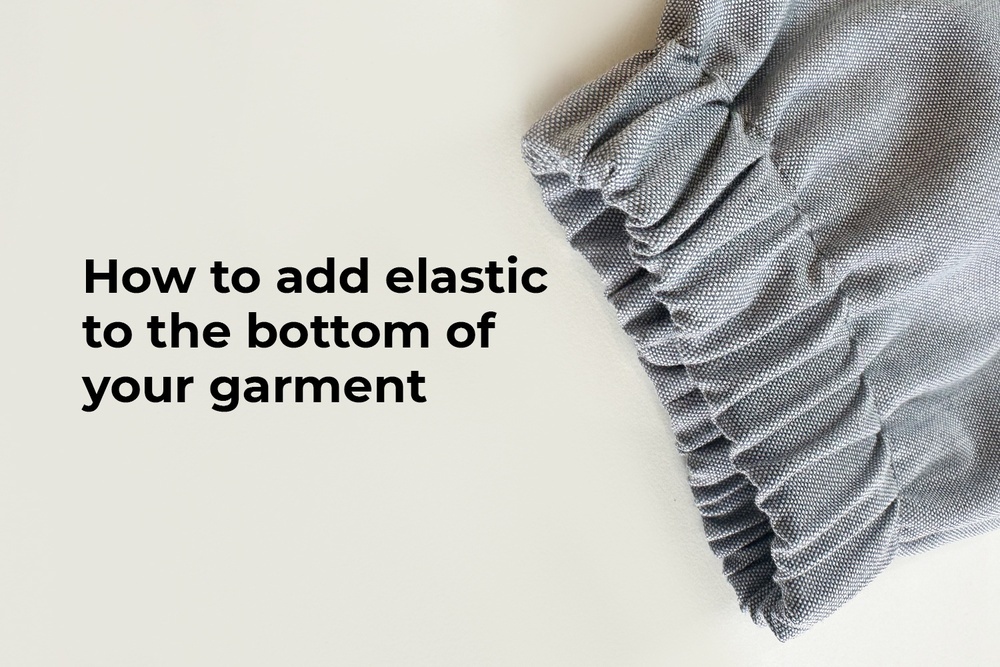
Ever wanted to add elastic to the bottom of your garment, but the instructions didn’t say how? Save this tutorial for future reference.
This technique for adding elastic works beautifully for the bottom of pants and sleeves and can even be applied to a waistband.
Steps to follow:
- Place the garment pieces right sides together, aligning the unstitched side edges.
- Measure a comfortable length for the elastic. It should not squeeze the arm or leg — just gently hug it. Add 2 cm (3/4”) to this measurement for seam allowances.
- Position the elastic on the garment so that it exactly aligns with the hemline. In our video, we have placed it in the center of the piece.
- Cover the elastic with the other side of the garment and place the second end of the elastic on top. Ensure the ends of the elastic are aligned.
- Stitch 1 cm (3/8”) away from the edge, catching all four fabric layers and the ends of the elastic.
- Turn the garment right side out. Both the right and wrong sides should now have a neat finish, since all raw edges are concealed inside the piece. The elastic is firmly secured and is not going to twist.
- Smooth out the pieces, make sure the elastic is aligned with the hem, and sew a stitching line right next to the elastic, all along its length. Important! Make sure the elastic does not get caught in the seam. Otherwise, it will lose its elasticity. Backstitch at the end of the stitching line.
- Evenly distribute the elastic all round.
Here are a few more sewing tips on how to work with elastic:


Здесь пока нет комментариев