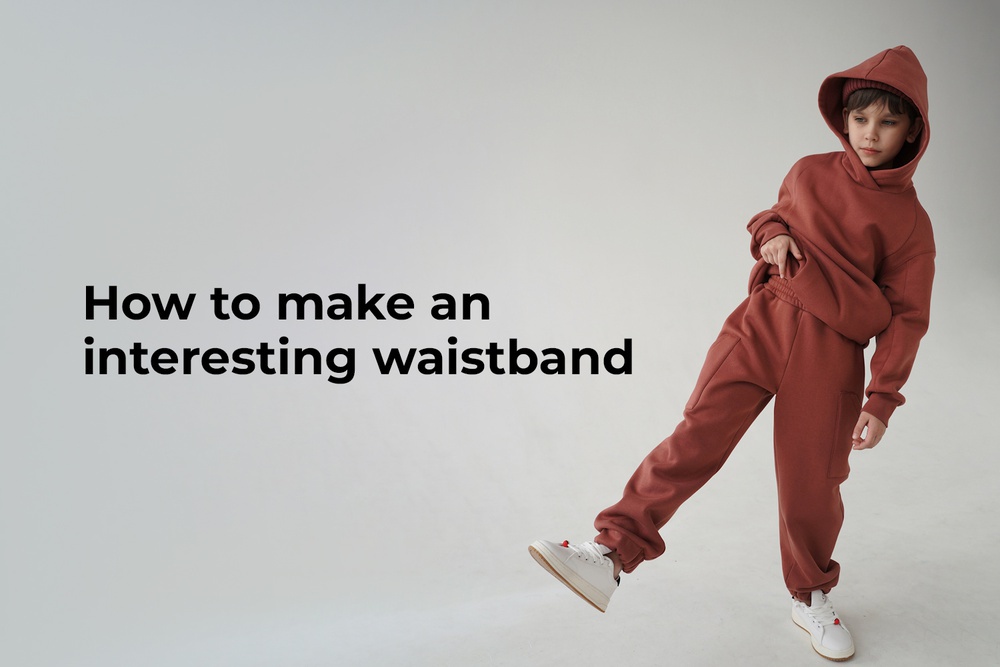
Getting creative when sewing is the most enjoyable part of the process. We always have the opportunity to tweak the pattern or add some extra details to the garment. For example, let’s make an interesting waistband finish on a pair of knit pants.
You should first prepare the waistband with an opening for threading the elastic. Then follow the steps:
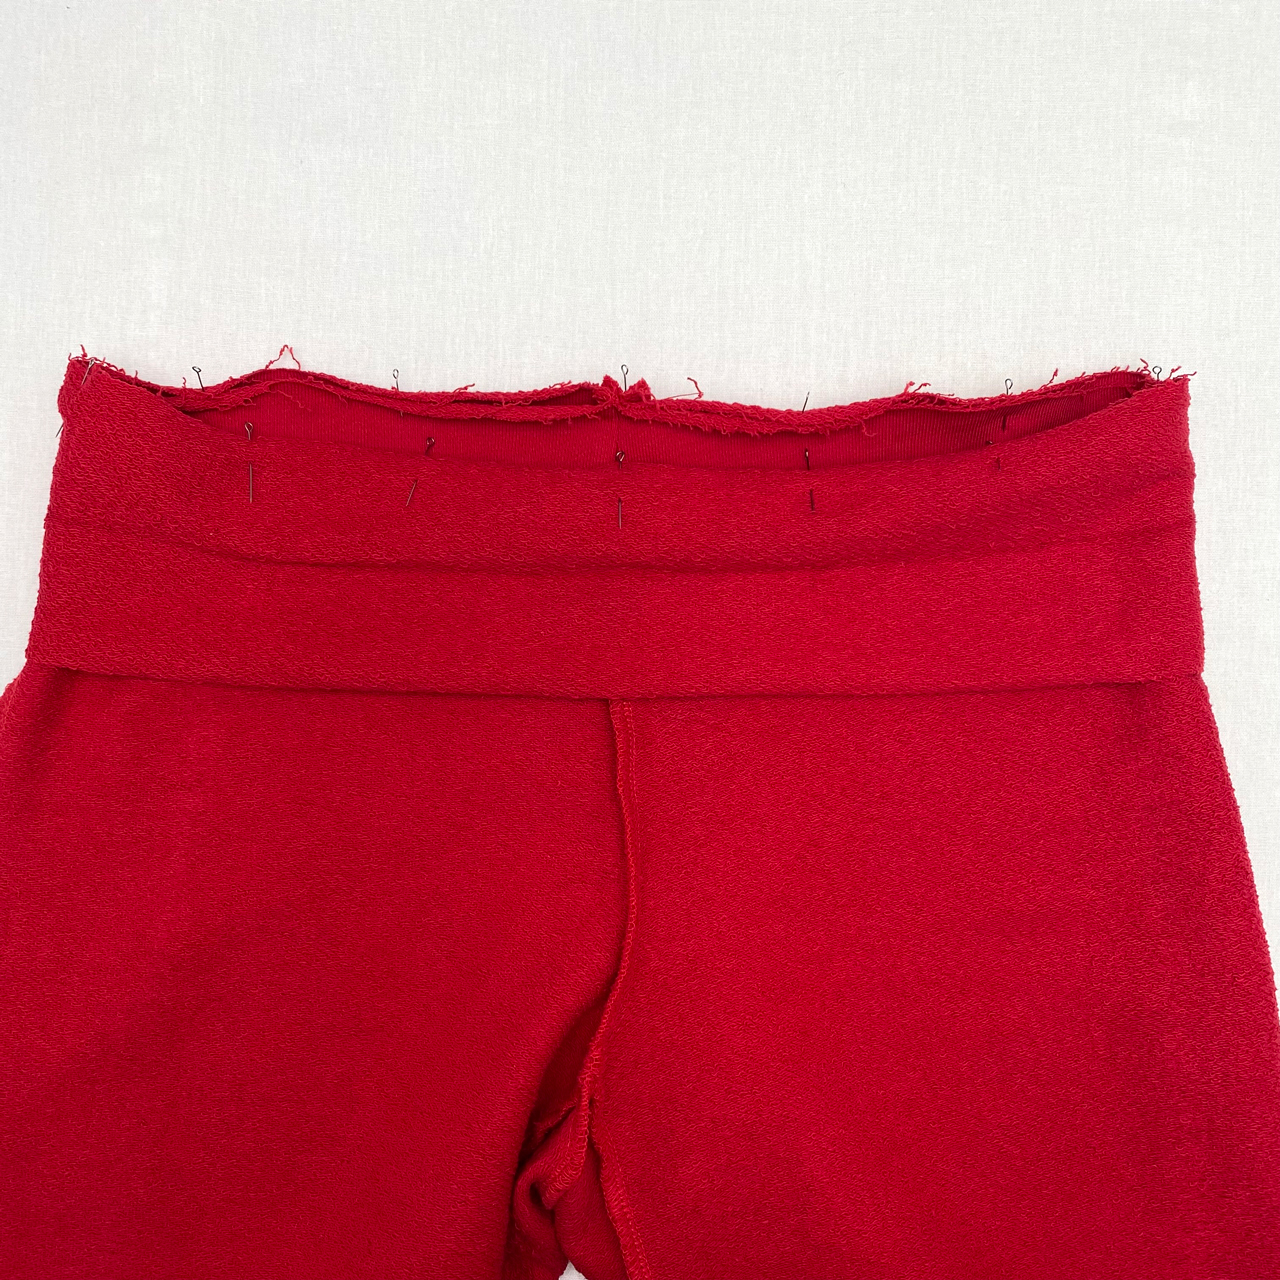
- Place the right side of the waistband, the one that has the opening in it, to the wrong side of the top edge of the garment. Align the edges and pin matching the notches.

- Machine-stitch using a narrow elastic stitch (stitch length: 2.5 mm, stitch width: 0.8 mm).

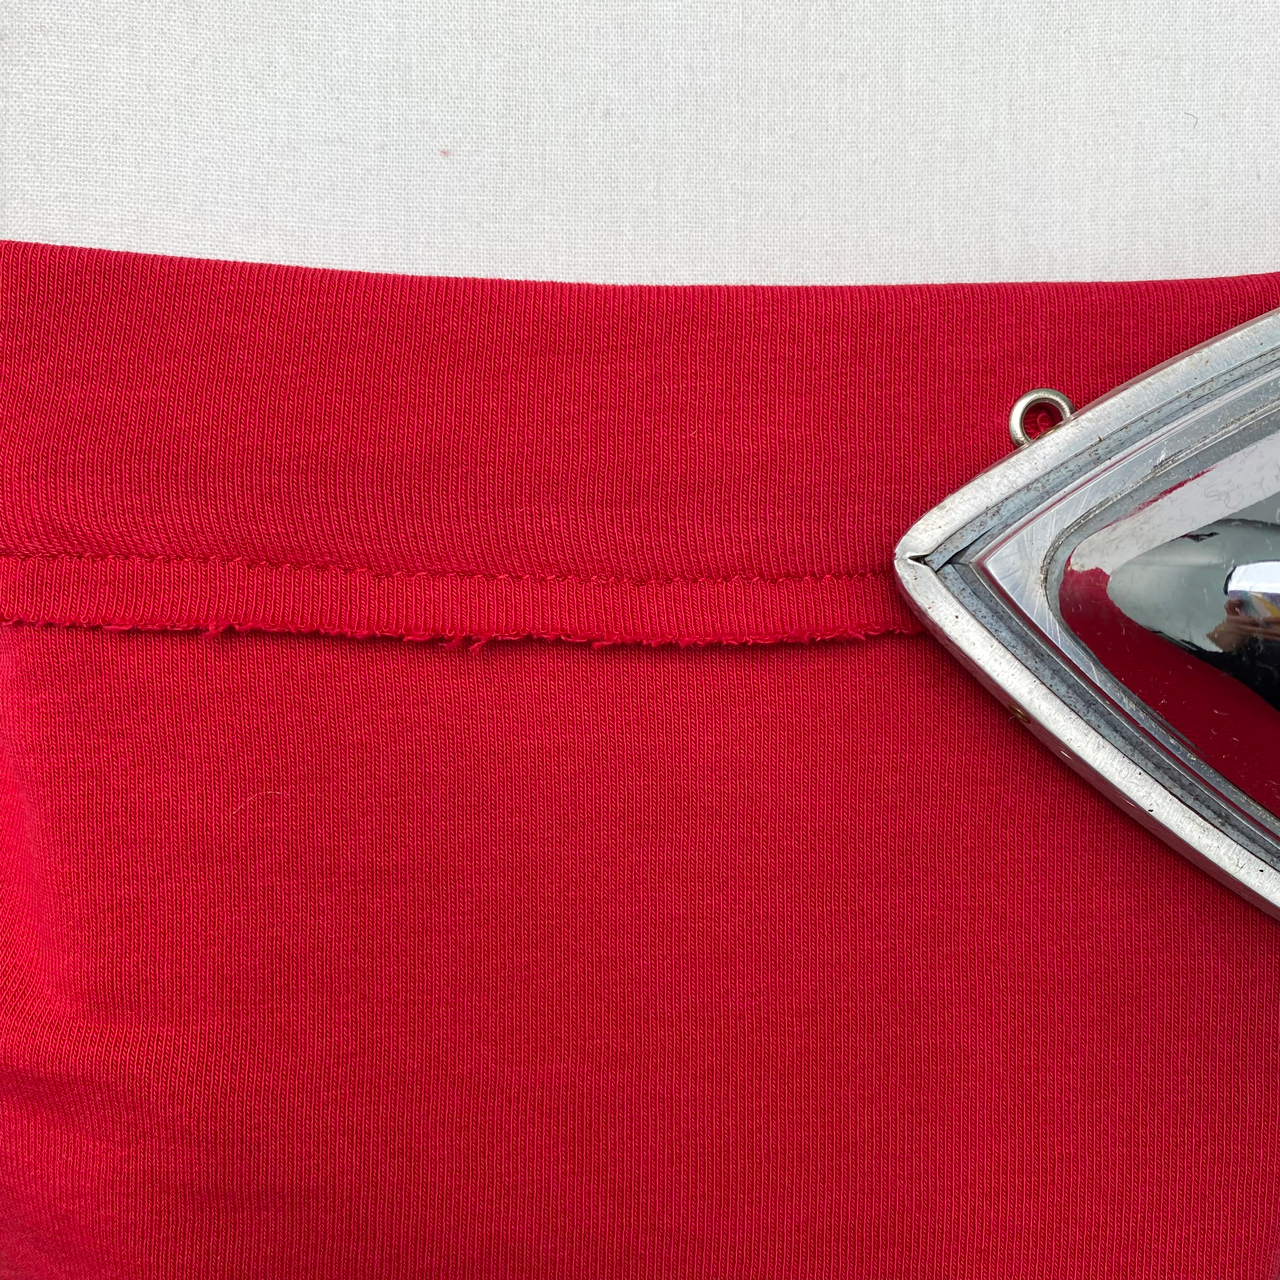
- Press the seam.
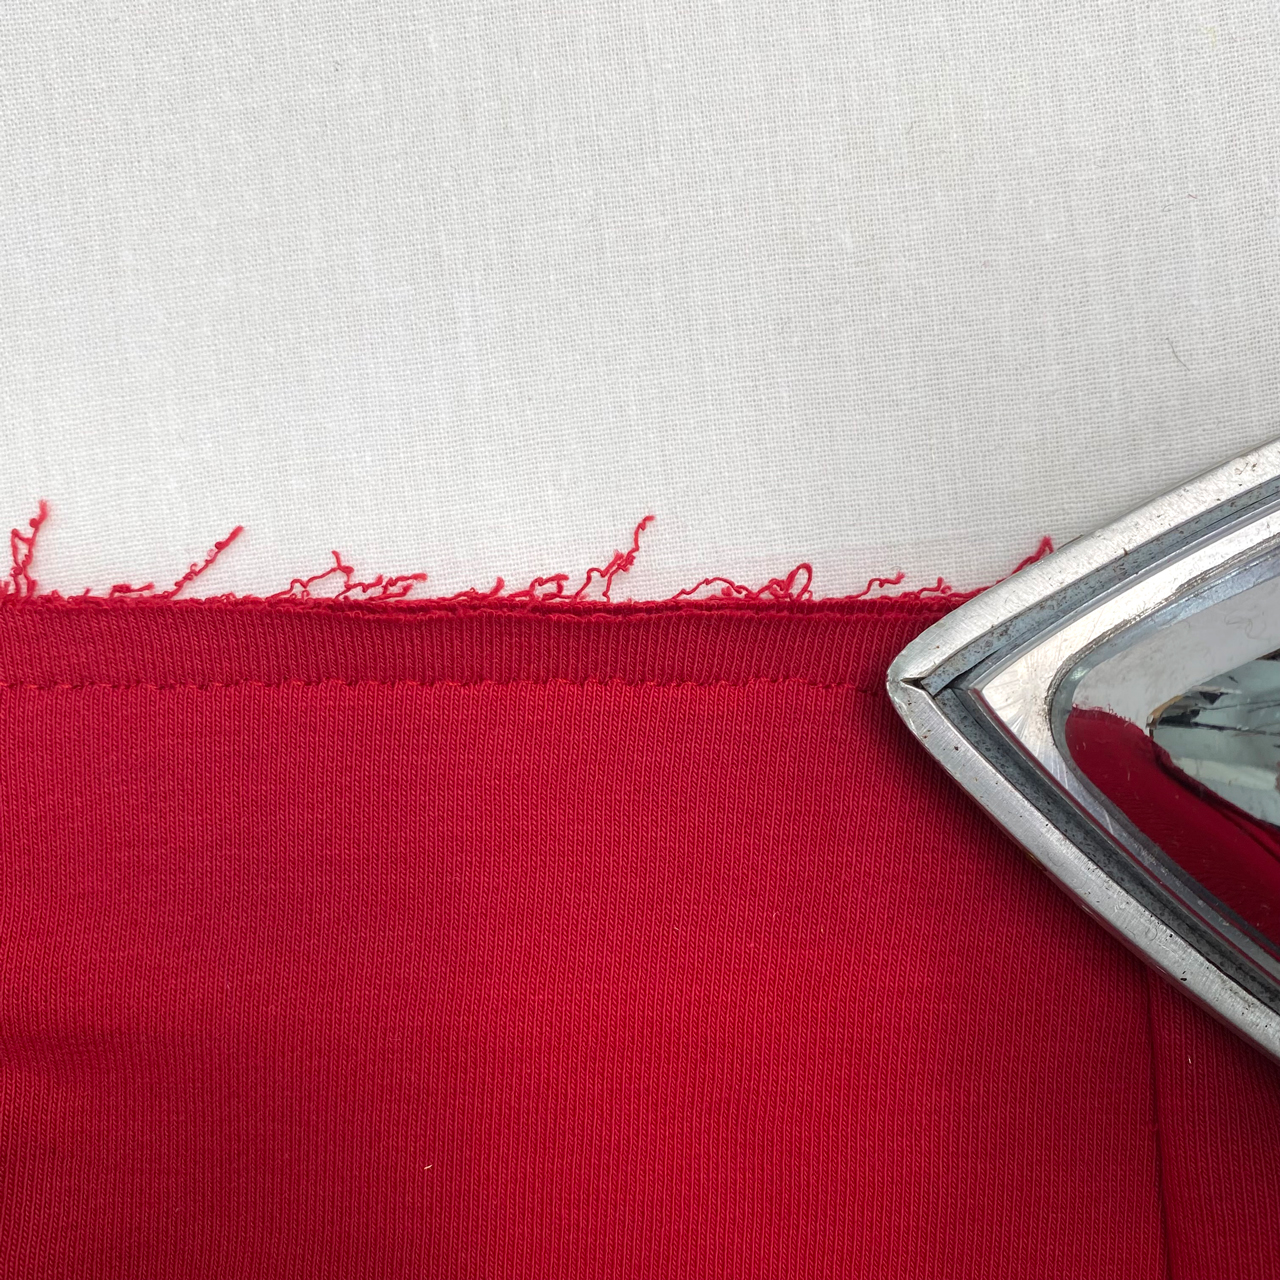
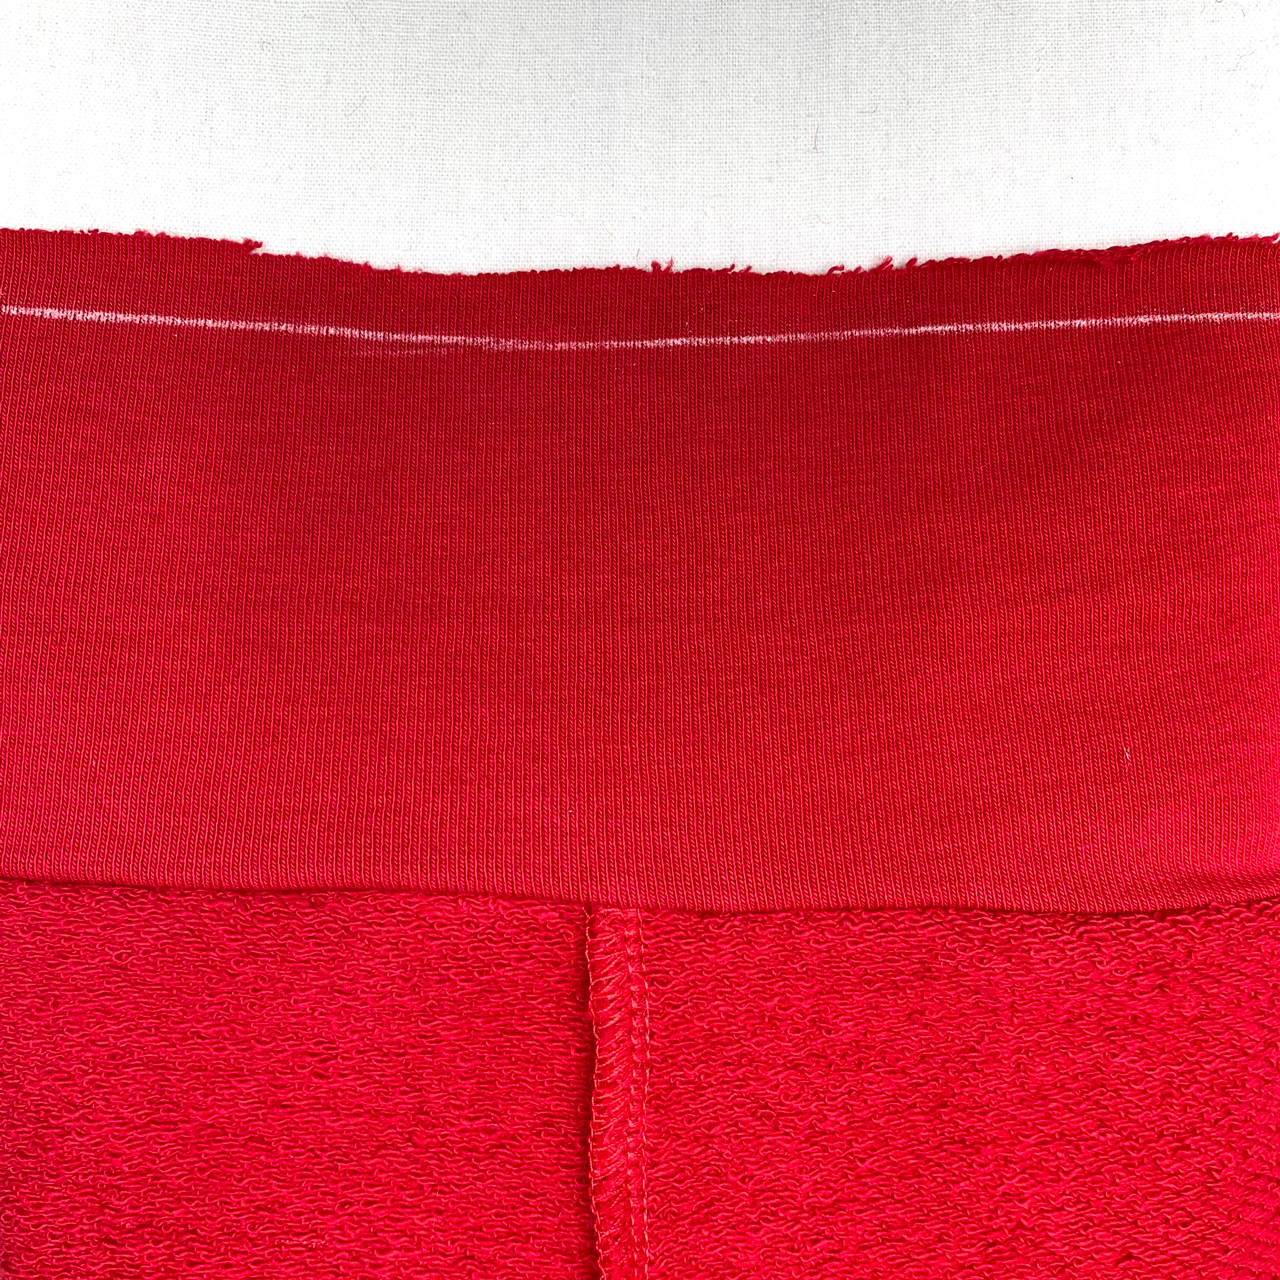
- Press the seam allowances open.
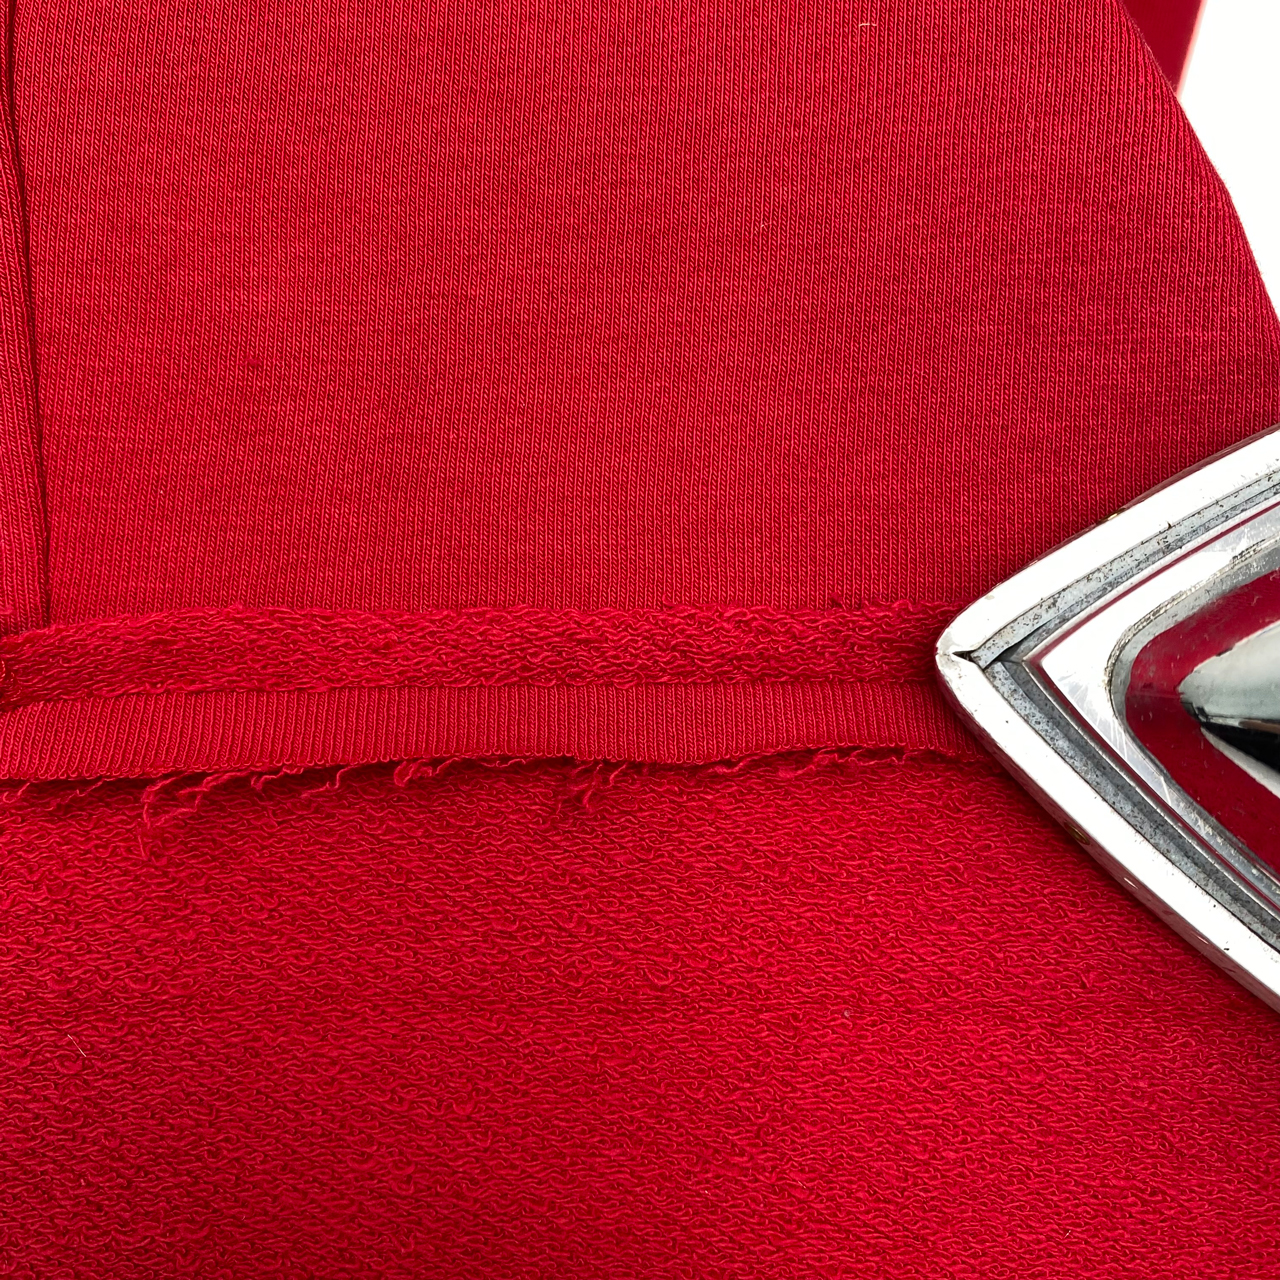
- Then press the seam allowances towards the waistband.
- Working on the right side of the waistband, chalk-mark a line at 1 cm (⅜”) from the free edge.
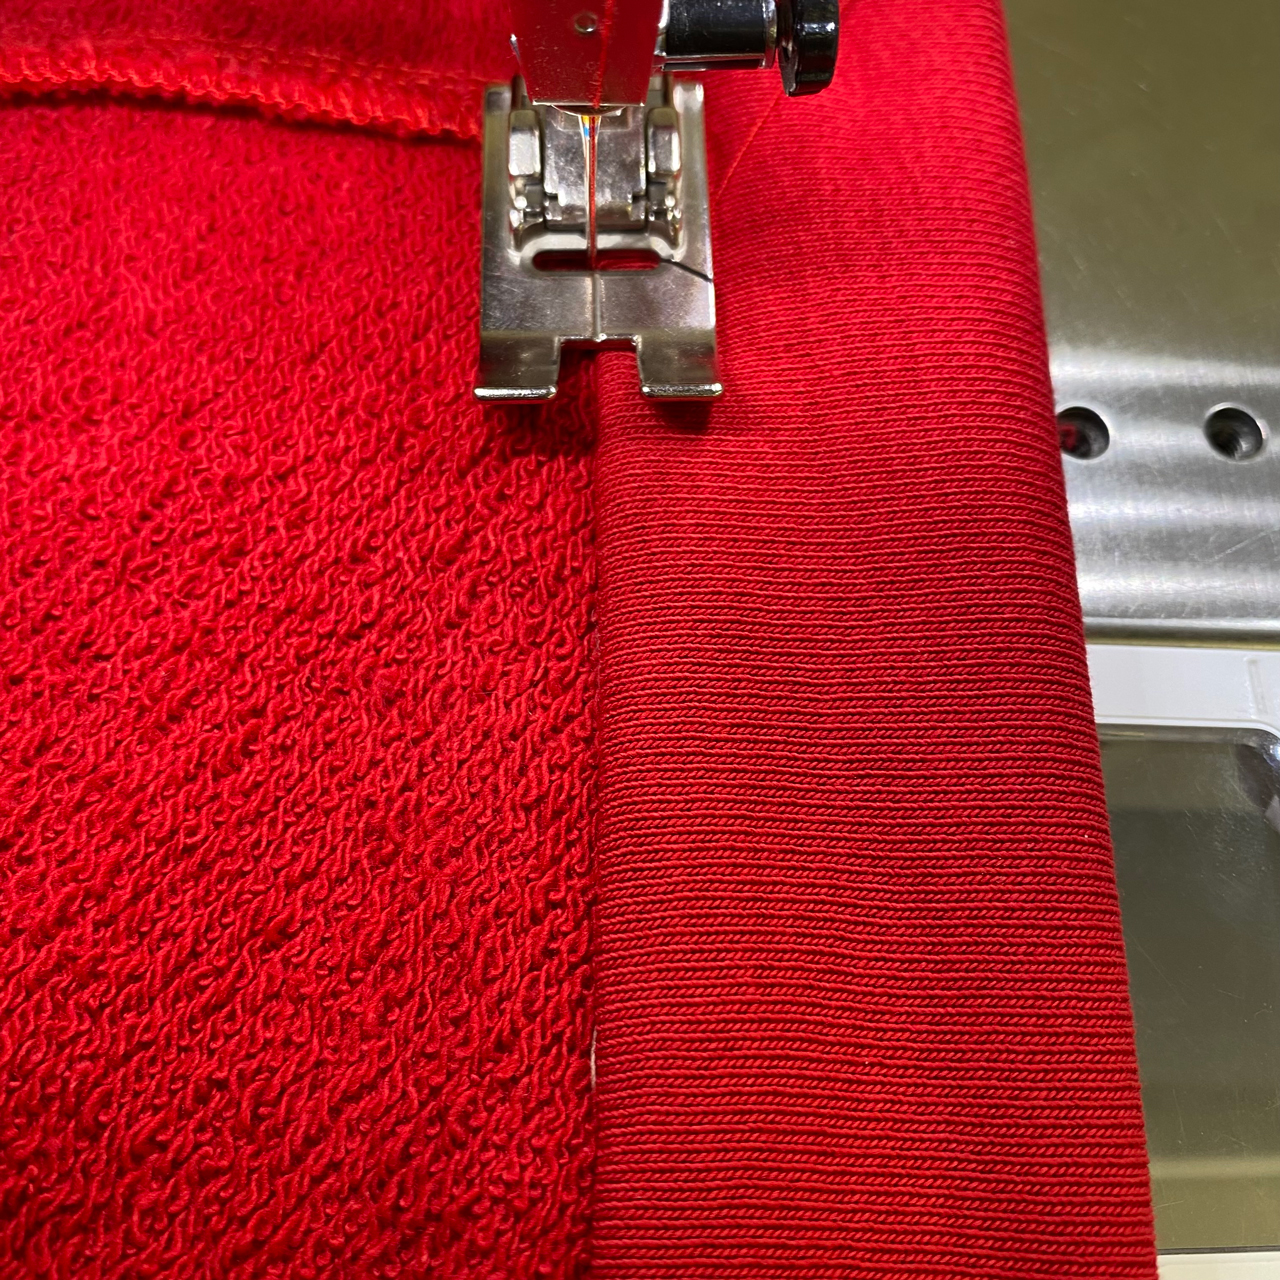
- Hand-baste the free edge of the outer side of the waistband in place, covering the waistband-to-garment seam by 1 cm (⅜”).
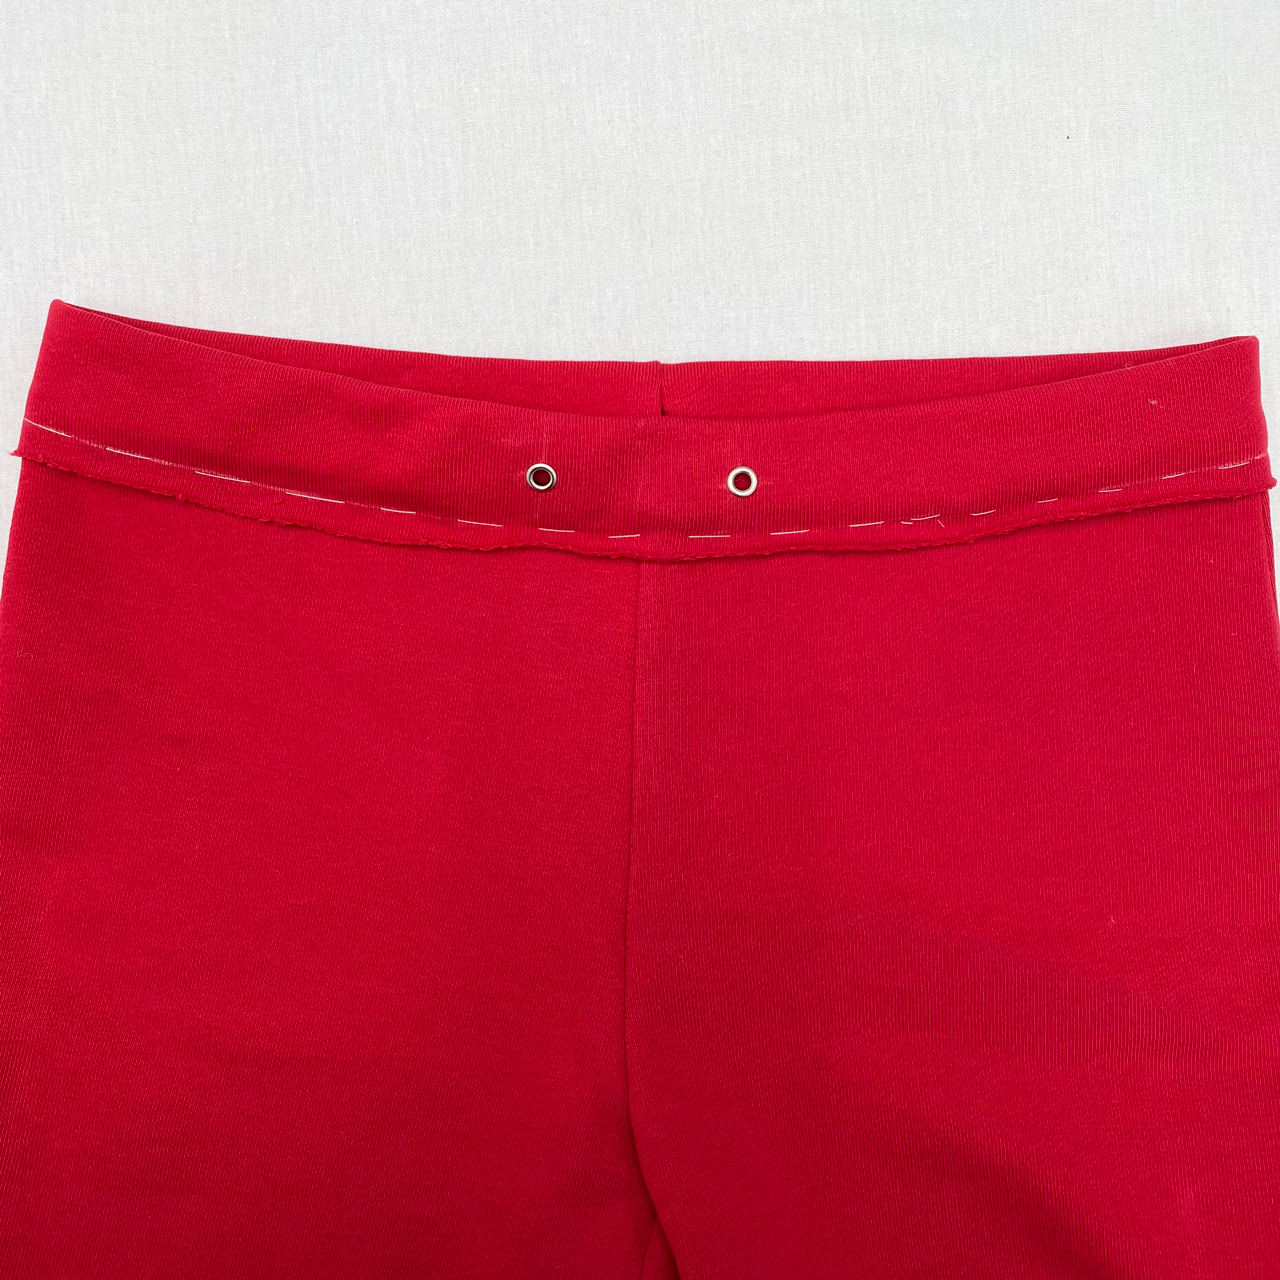
- Secure the free edge of the waistband on the sewing machine. To do so, work on the wrong side and stitch in the ditch of the waistband-to-garment seam. On the right side, the stitching line should be 1 cm (⅜”) from the free edge of the waistband. Backstitch at the end of the seam.
- Remove the basting stitches. Press the seam.
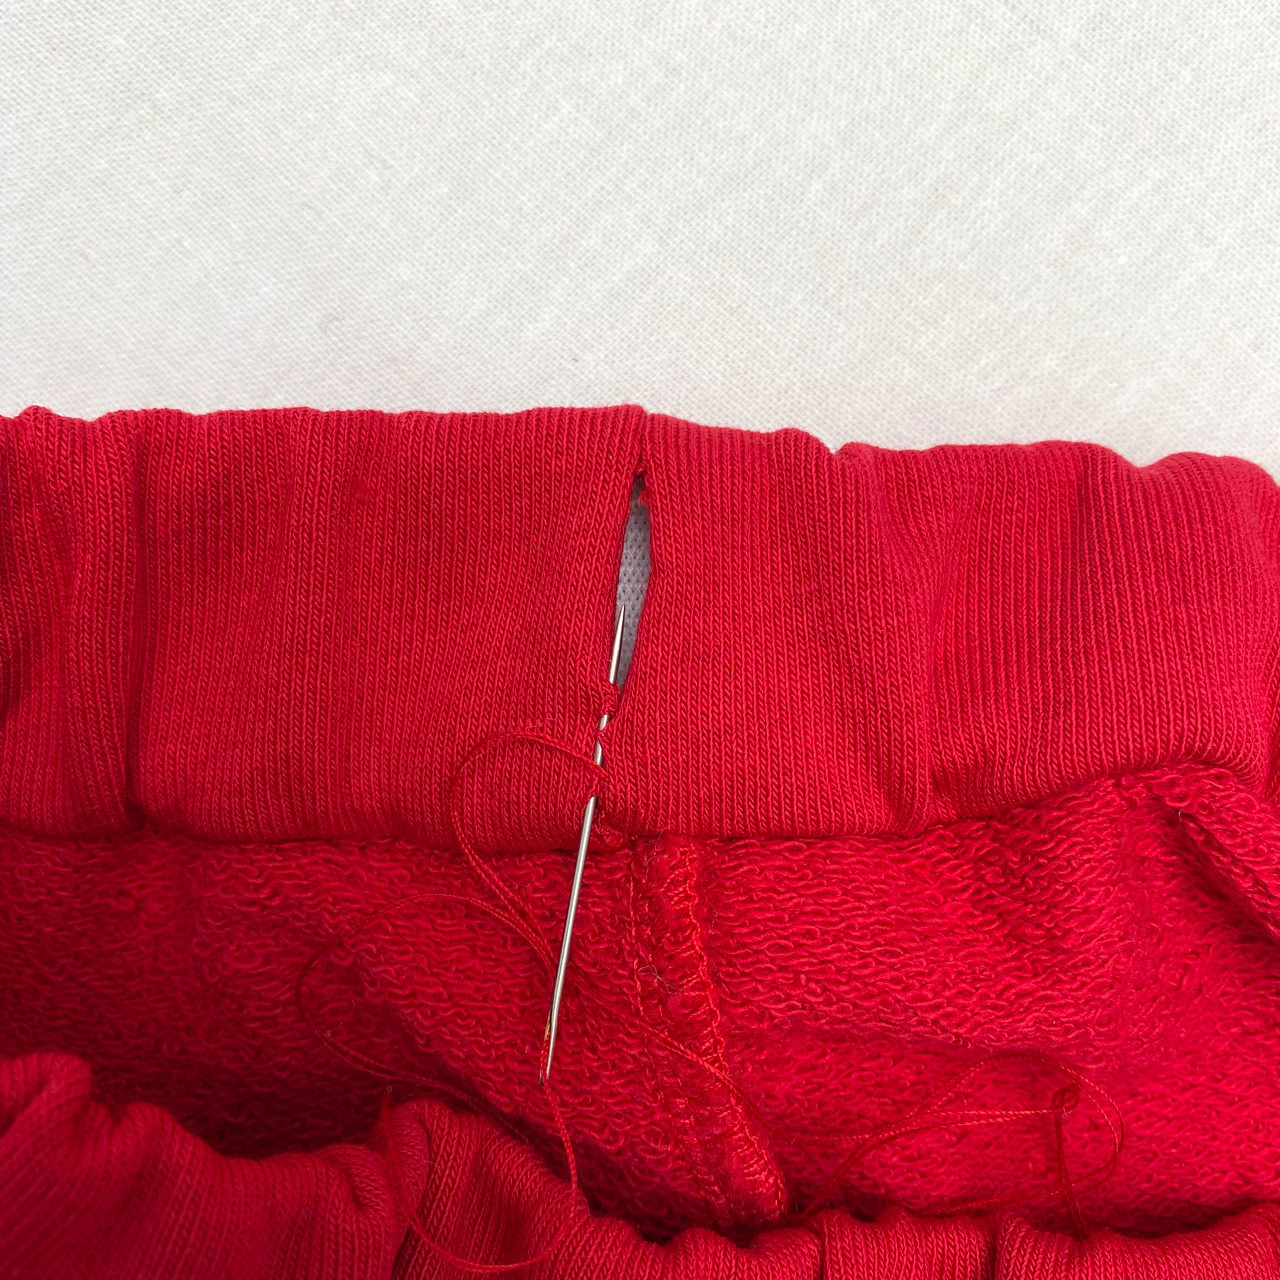
- Use an elastic threader or a safety pin to thread the elastic through the opening in the waistband.

- Overlap the ends of the elastic and machine-stitch to secure.

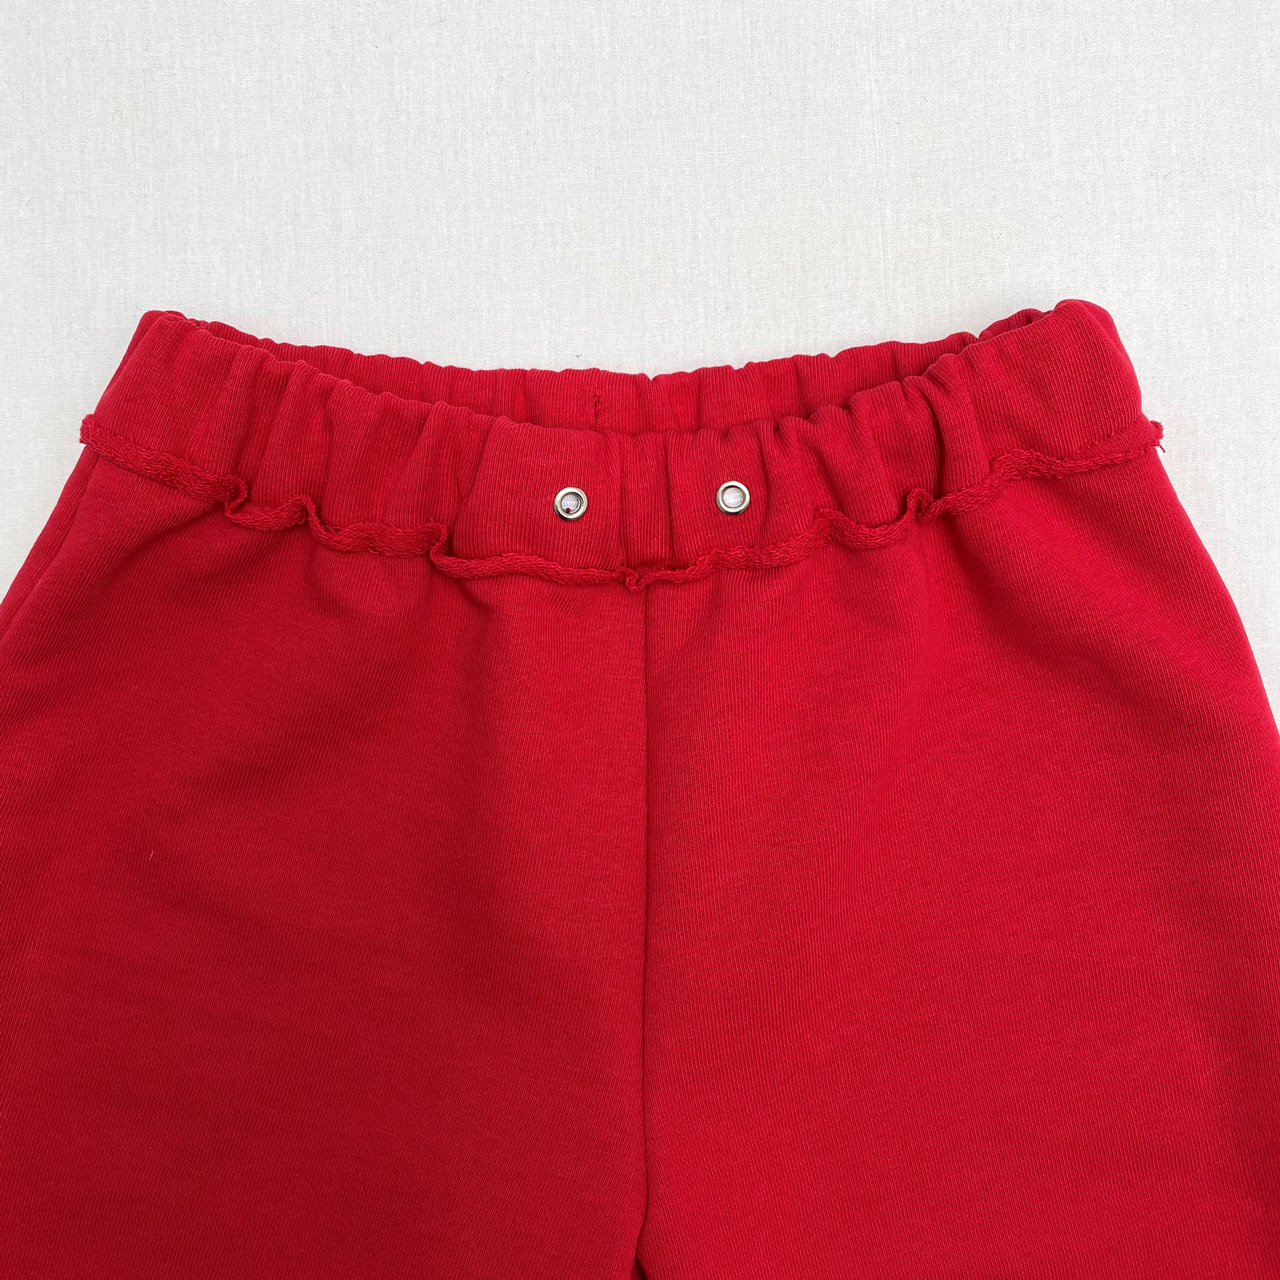
- Stitch the opening closed using permanent hand stitches.
- Distribute the elastic evenly inside the waistband. If desired, topstitch the waistband to make a channel for threading the string through it.
It’s more fun this way, yep?
Find more sewing tips here:
How to make a topstitched elastic waistband


Здесь пока нет комментариев