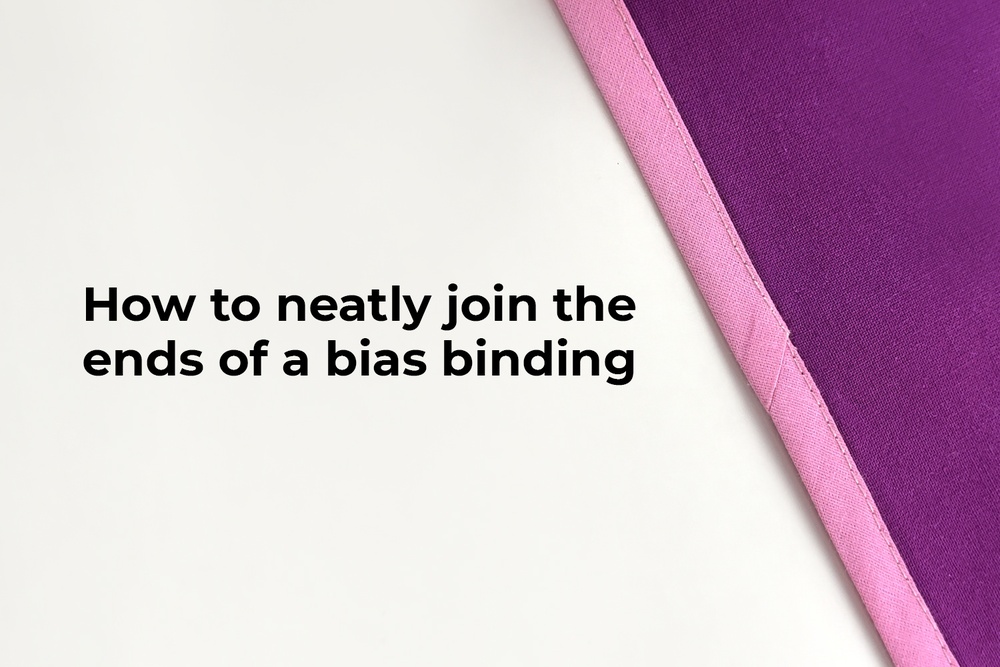
Wonder how to join the ends of a bias binding neatly? This sewing hack is especially handy when finishing round edges such as armholes or necklines. You might also use it when the length of the binding you are using is shorter than the edge that needs to be finished, as it lengthens the binding.
- Place the binding to the right side of the garment and machine-stitch it at 5 mm (just under 1/4") from the edge. Stitch as close to the fold at the other end of the binding as possible.
- Backstitch the end of the seam. Do not trim the ends of the binding just yet.
- Fold the binding so that its right side is facing up.
- Unfold the other end of the binding and place it over the first one, ensuring they are at a 90-degree angle toward each other.
- Machine-stitch at a diagonal, starting at the corner and moving toward the previous stitching line. Backstitch at the beginning and end.
- Trim the extra binding length off.
- Fold the pieced binding over the seam allowance and press it in place.
- Then fold the free edge of the binding under and press.
- Lastly, fold the binding in half, ensuring its pressed folded edge covers the binding-to-garment seam by 1–2 mm. Press in place.
- Machine-stitch at 1 mm from the inner folded edge to attach the other side of the binding.
Finished!
Do you find this type of sewing hack useful? When yes, check out for more tutorials here:
Finishing edges with binding using a cardboard template


Здесь пока нет комментариев