Check out our new sewing tutorial!
1️. Start by folding a 1 cm (3/8”) seam allowance to the wrong side on each piece.
2️. Align your pieces with the zipper, laying them atop the zipper tape. Make sure to keep a little gap from the zipper teeth.
3️. Secure the pieces in place by stitching at 1-2 mm from the fold. If the zipper slider is in the way, just slide it down. Hence, the zipper should end up between the two pieces.
4️. Now, fold one piece to sit over the zipper, making sure the zipper is concealed. It’s crucial to overlap the second piece by 2-3 mm (about 1/8”). Stitch a П-shaped line over the piece, creating the welt. Begin stitching along the top edge of the zipper, right where the slider is. When you reach the corner, pivot your stitch and keep stitching all along the pocket opening. Repeat the same, this time along the bottom edge of the zipper.
5️. Finally, stitch through all the layers above and below the zipper, securing the pieces together with a straight line of stitching.
If you wish, you can perform steps 4 and 5 in one go. Stitch the pieces together and create the welt all with a single stitching line. But that requires some skills and experience to get it done neatly.
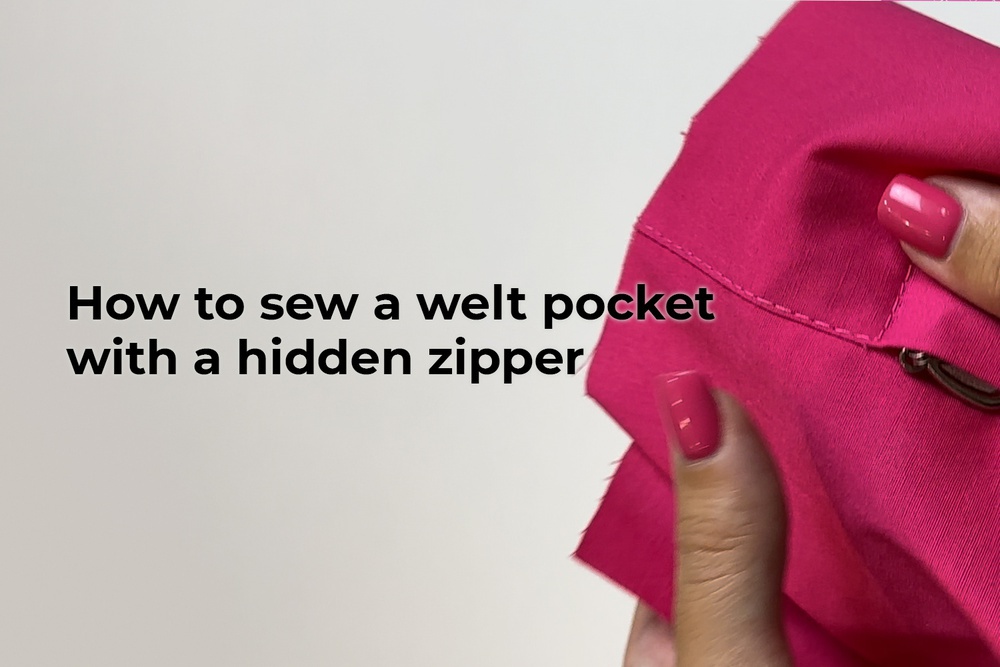
And just like that, you’ll have the zipper neatly placed underneath the top piece.
Have you tried this technique before? It’s a handy trick that can be used in various garments, especially useful for autumn outerwear! Try on outerwear sewing patterns.
Find more sewing hacks here:


Здесь пока нет комментариев