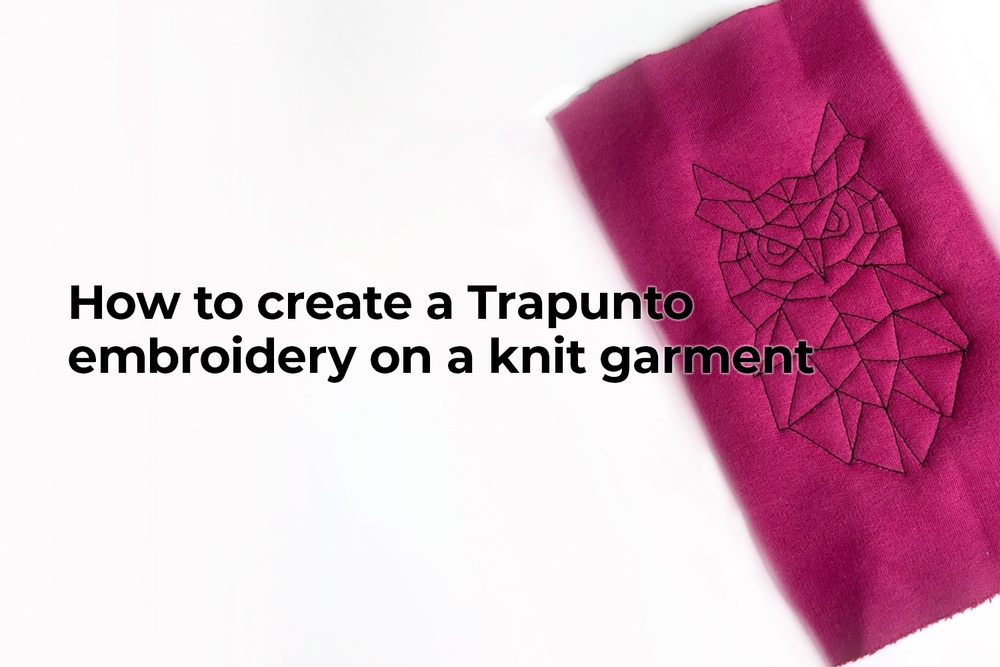
Would you like to create an amazing piece of Trapunto embroidery on a knit garment? Check out our new tutorial!
First select an embroidery pattern: it can be a flower, a letter, an animal, or a number. Google “geometric embroidery patterns” for ready-made designs.
How to create Trapunto embroidery:
1️. Transfer the pattern onto the right side of the fabric. You can sketch it by hand or print an image and make a template. The best way is to transfer it onto tracing paper, place it over the fabric, and then sew over the lines marked on the paper. Alternatively, you can mark the fabric at the reference points, then remove the tracing paper and connect the points to recreate the image. Make sure to use a fine marking tool to transfer the lines to the fabric.
2️. Place a piece of thin batting to the wrong side of the fabric, where the embroidery is going to be. And then cover it with a piece of thin jersey fabric or French terry. This way, you’ll have a fabric-batting-fabric sandwich.
3️. Pin the layers together so that the fabric doesn’t shift.
4️. Stitch along all the lines of your embroidery design. You can use a matching thread or go for a contrasting one. Plan your sewing machine’s path in advance so that you don’t have to break the stitching too often.
5️. To prevent overlapping stitches, don’t backstitch at the beginning or end of your stitching lines. Instead, leave 7 to 10 cm (3−4”) long thread tails on both ends. You’ll later pull these to the wrong side with a hand-sewing needle and tie them off.
6️. After all your stitching is done, trim the excess fabric on the wrong side, close to the embroidery contour, and remove the tracing paper from the right side of the fabric (in case you choose to stitch over the tracing paper).
7️. Steam your embroidery without actually touching it with the iron.
Ready to give it a shot?
Here are a few more interesting ideas on how to decorate garments you sewed:


Здесь пока нет комментариев