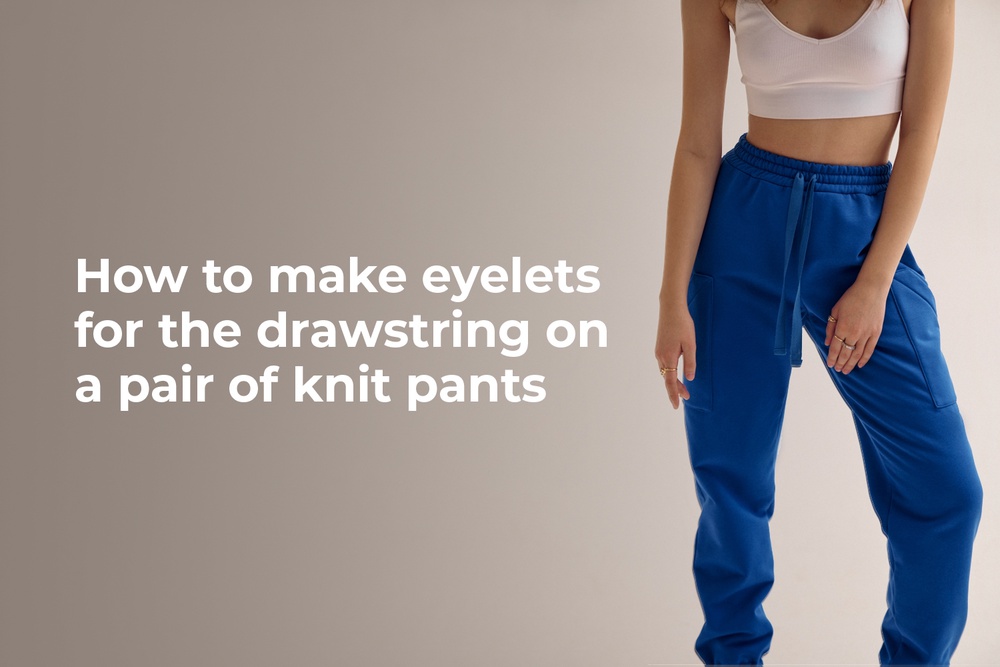
How to make eyelets for the drawstring on a pair of knit pants if you don’t have eyelet pliers? Solution: save this post to your sewing hacks collection from Vikisews.
- Transfer the eyelet marking to the right side of the waistband. It may have a round, oval, or rectangular shape.
- Prepare the facing. To do so, cut a 3.5×7 cm (1 3/8"×2 3/4") strip of jersey fabric. Apply interfacing to it and then cut it into two equal squares. Working from the wrong side of the facing, mark the eyelet outline in the center.
- Place the facing right sides together with the waistband, aligning the eyelet markings. Baste in place.
- Use a 2 mm stitch length to machine-stitch following the marking.
- Remove the basting stitches and cut out the center of the circle, oval, or rectangle, leaving a 2 mm seam allowance.
- Use the cut opening to push the facing to the wrong side and hand-baste forming a 1 mm roll from the main fabric. Press flat.
- Trim the facing seam allowance down to 2 cm (3/4").
- Secure the facing seam allowance on the wrong side using invisible hand stitches.
- Press the finished eyelet.
It is just as secure and beautiful as a regular eyelet. Enjoy!
More sewing tips are here:
How to make an interesting waistband finish on a pair of knit pants


Здесь пока нет комментариев