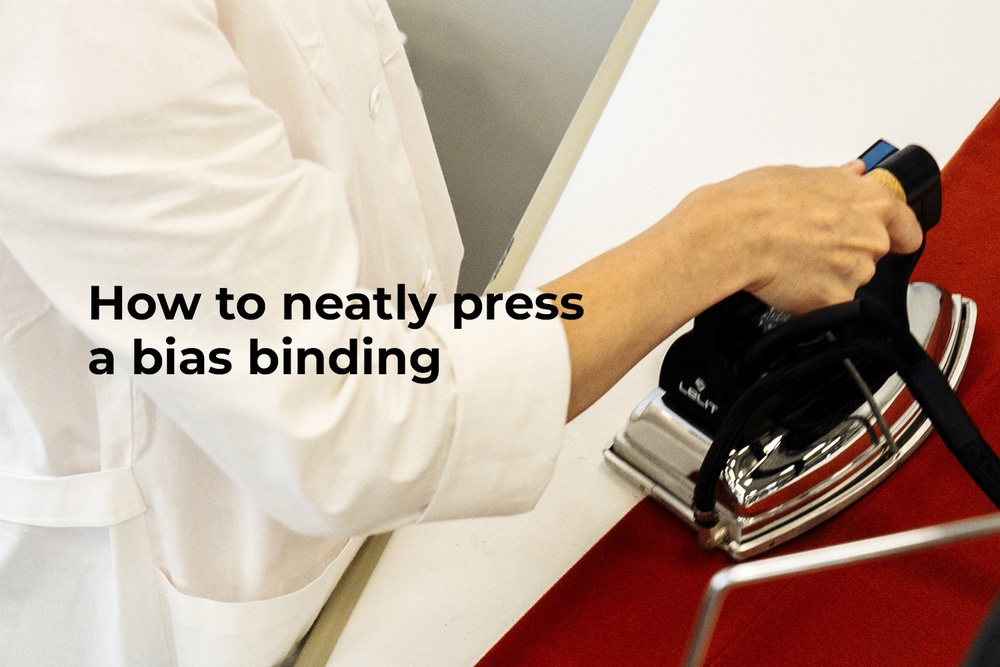
How to neatly press a bias binding
Here is a tutorial on how to neatly press a bias binding as part of our Vikisews sewing hacks.
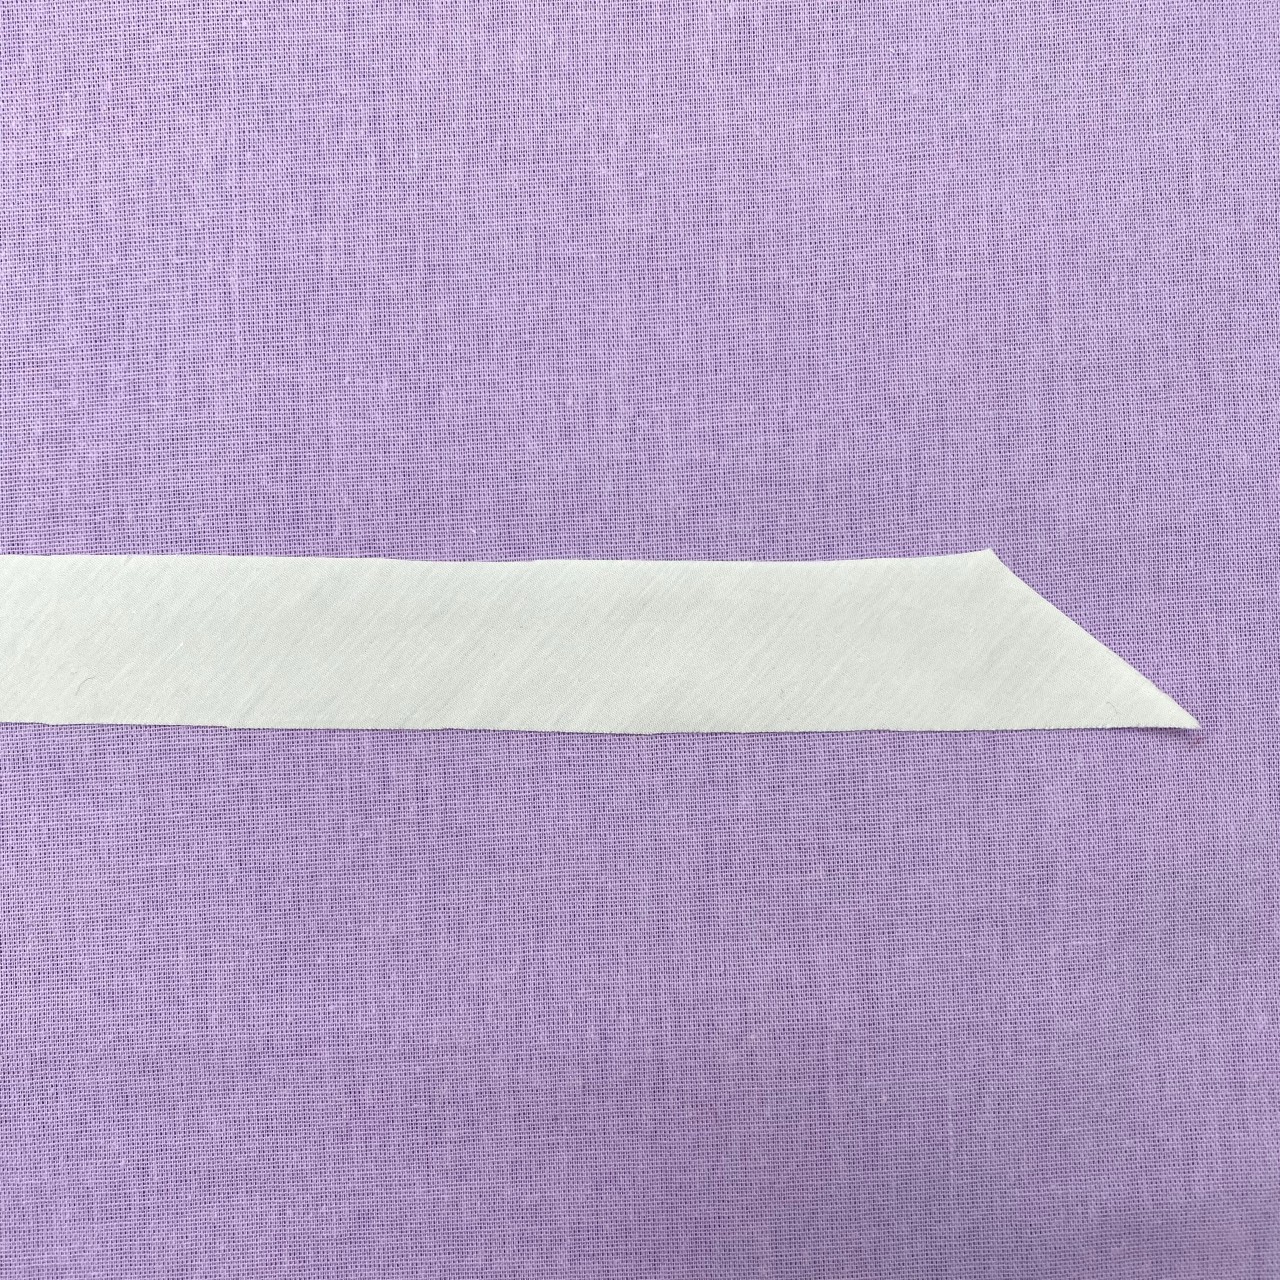
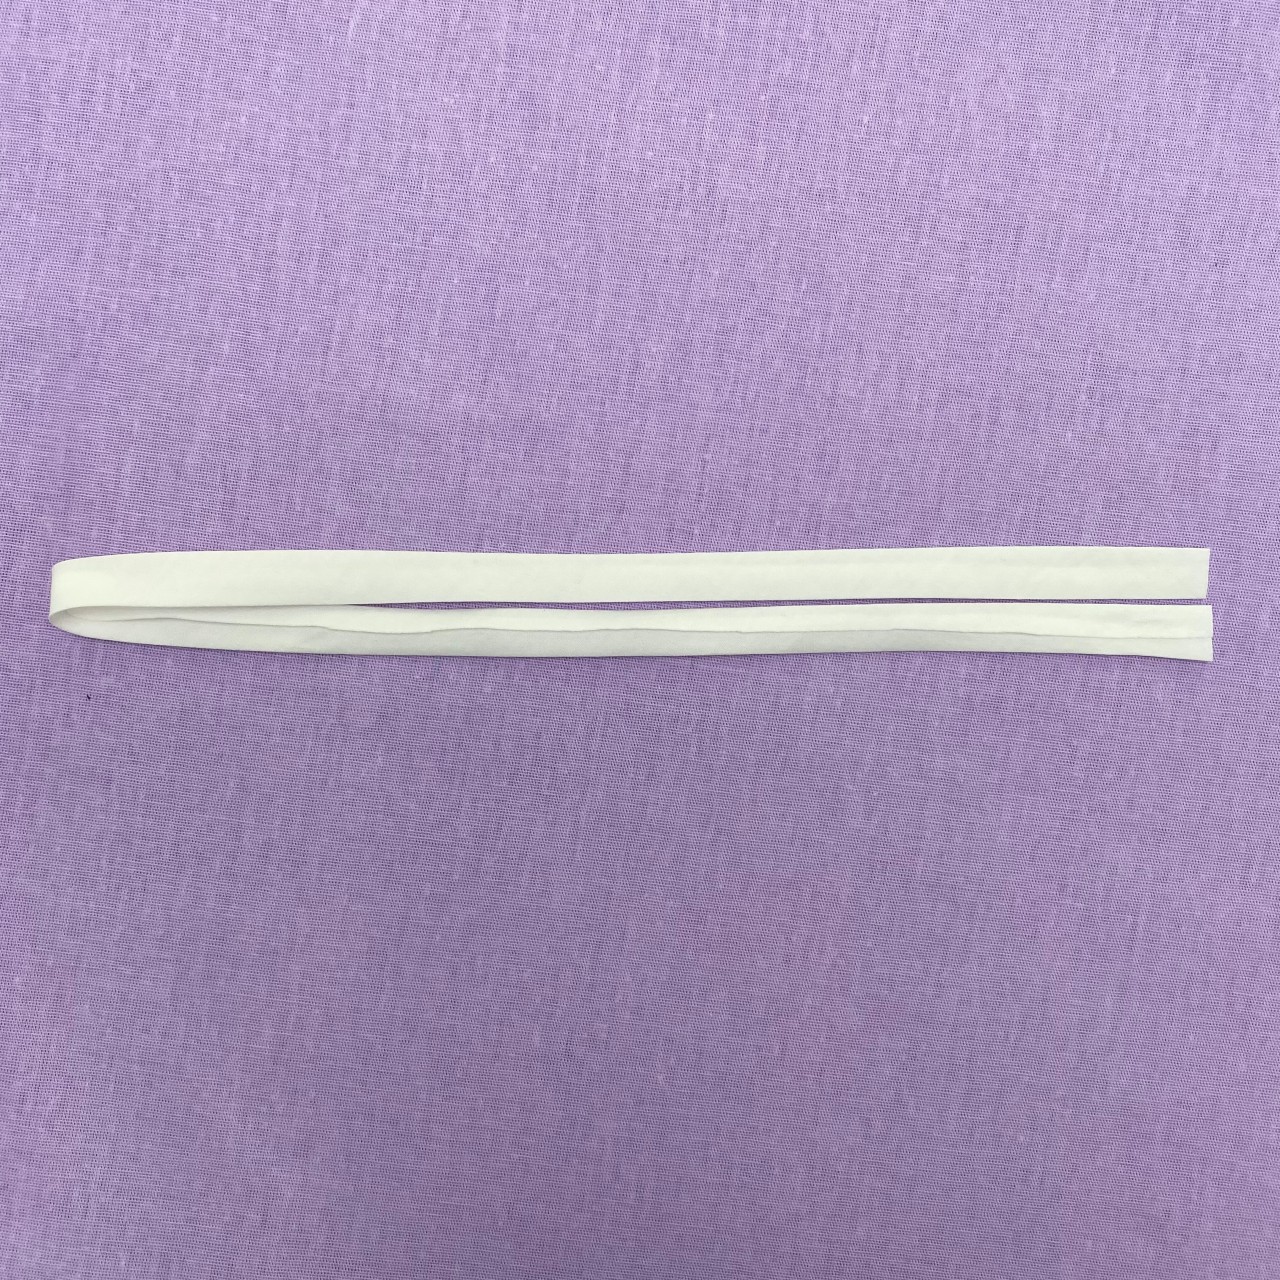
Cut a strip of fabric as long and as wide as needed. The strip should be cut on the bias (at a 45-degree angle to the grainline).
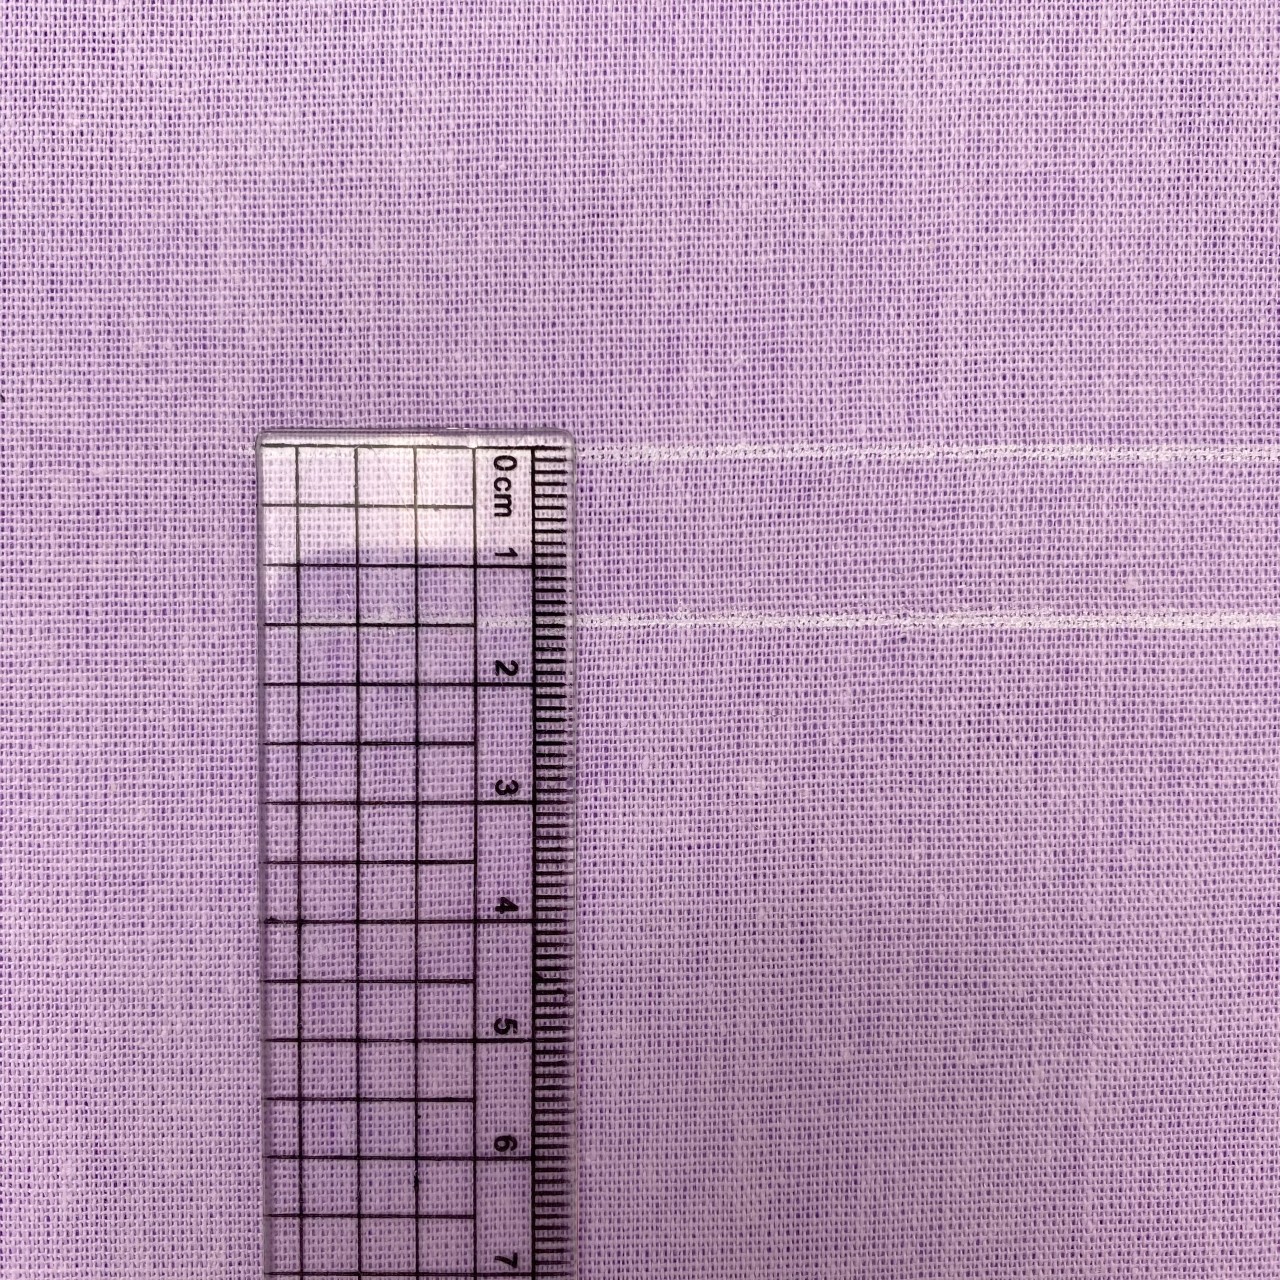
Use the tailor’s chalk and a ruler to mark half the width of the binding on the cover of a tailor’s board.
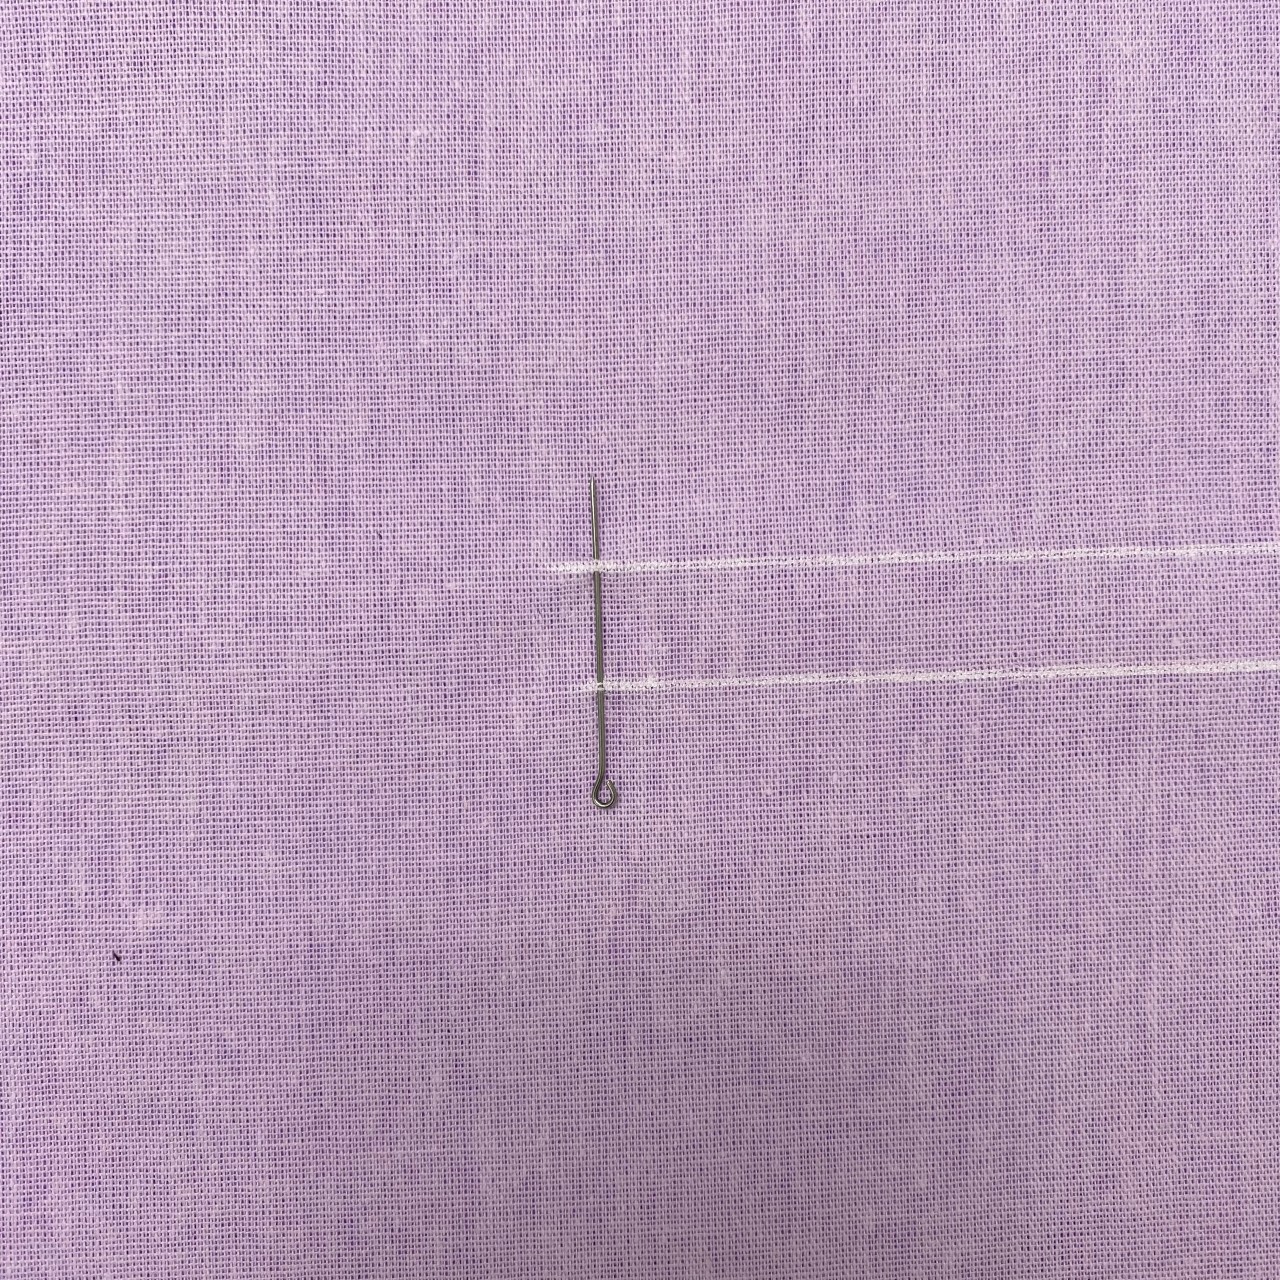
Use a pin to pierce the cover of the tailor’s board following the markings.
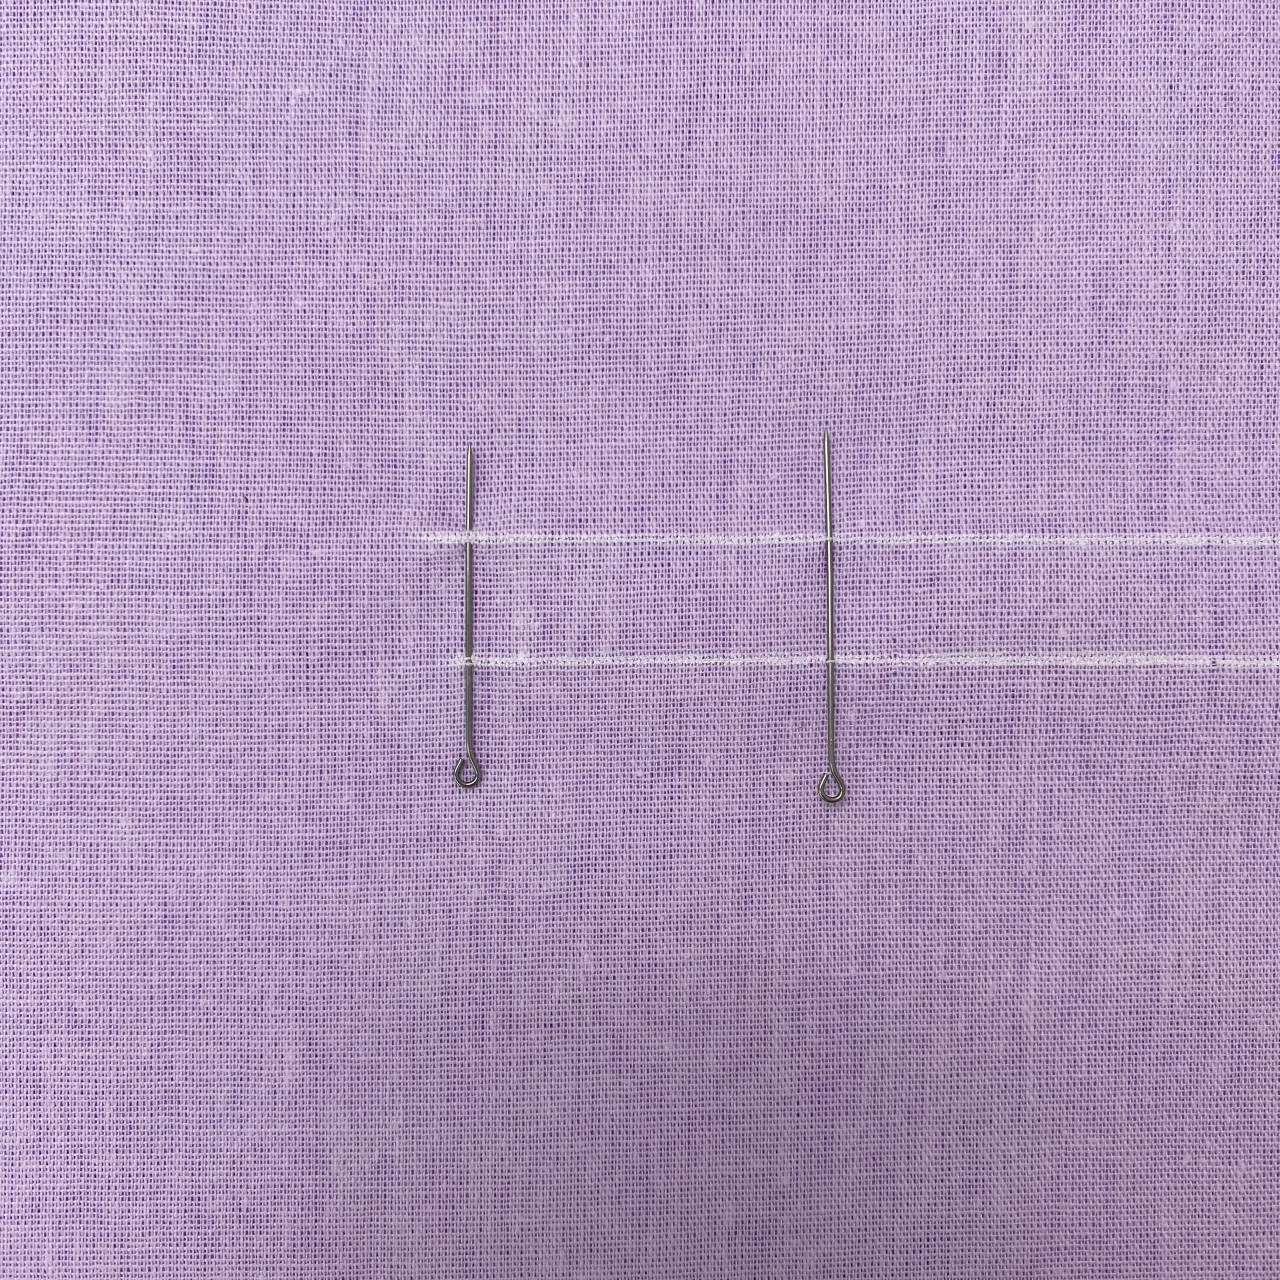
Follow the markings precisely to insert another pin at 4 cm (1 5/8”) from the first one.
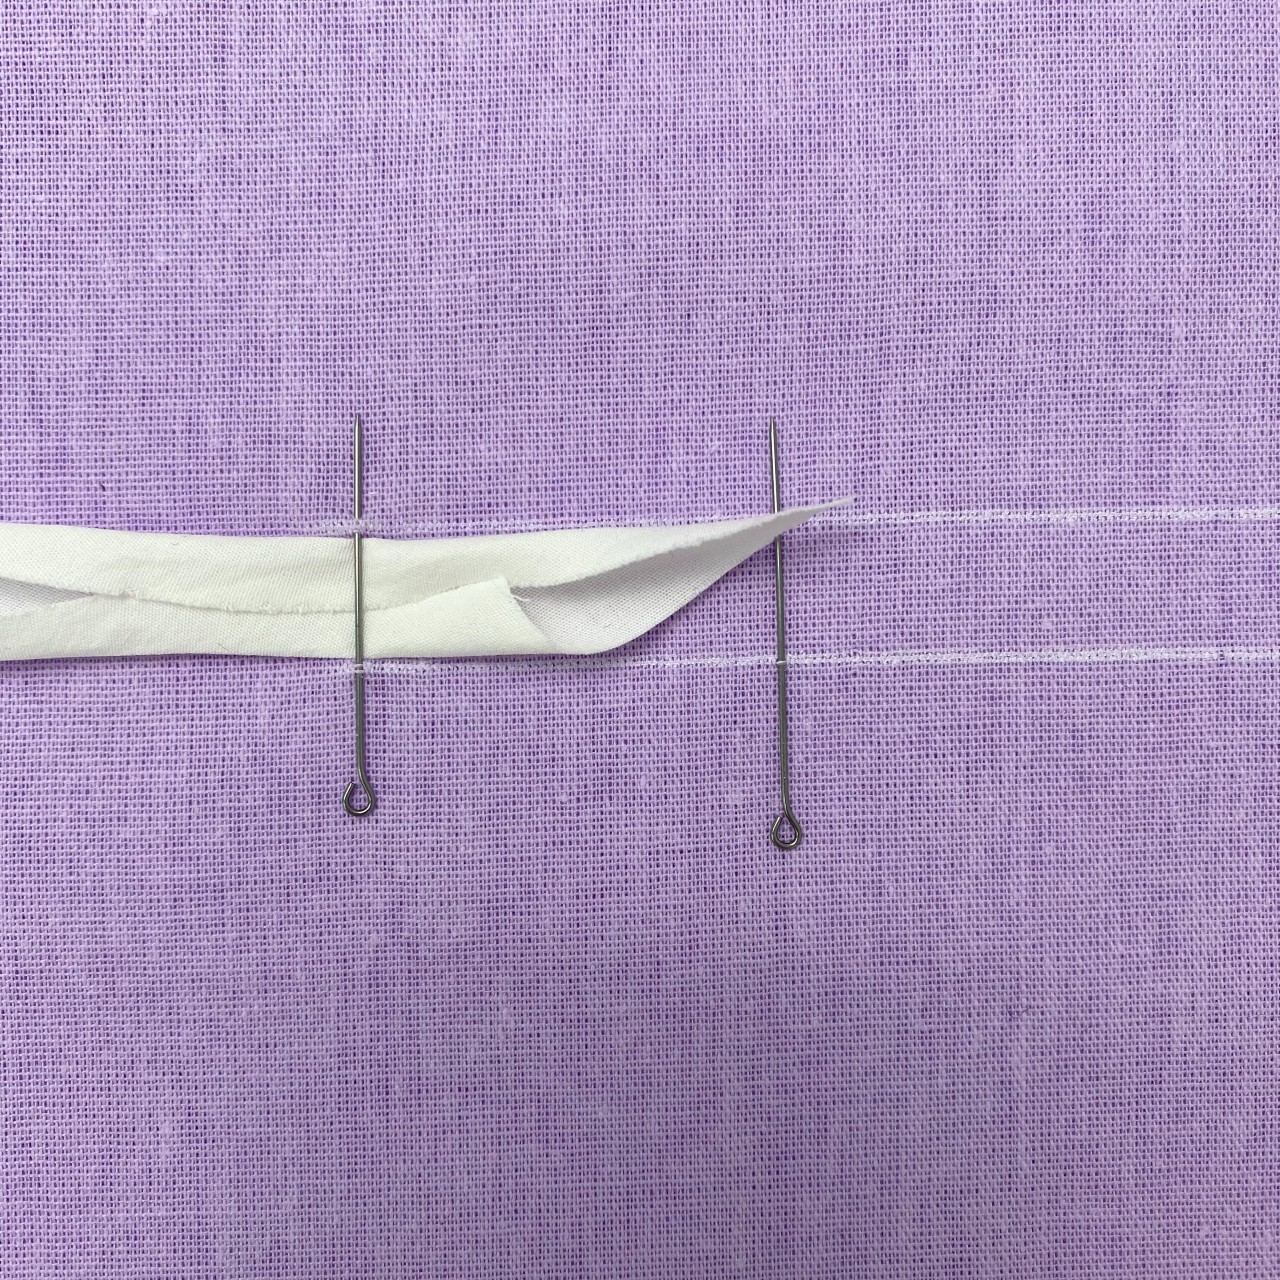
Insert the short end of the strip of fabric under the first pin, fold its side edges towards the center to form the binding, and then pull it towards the second pin.
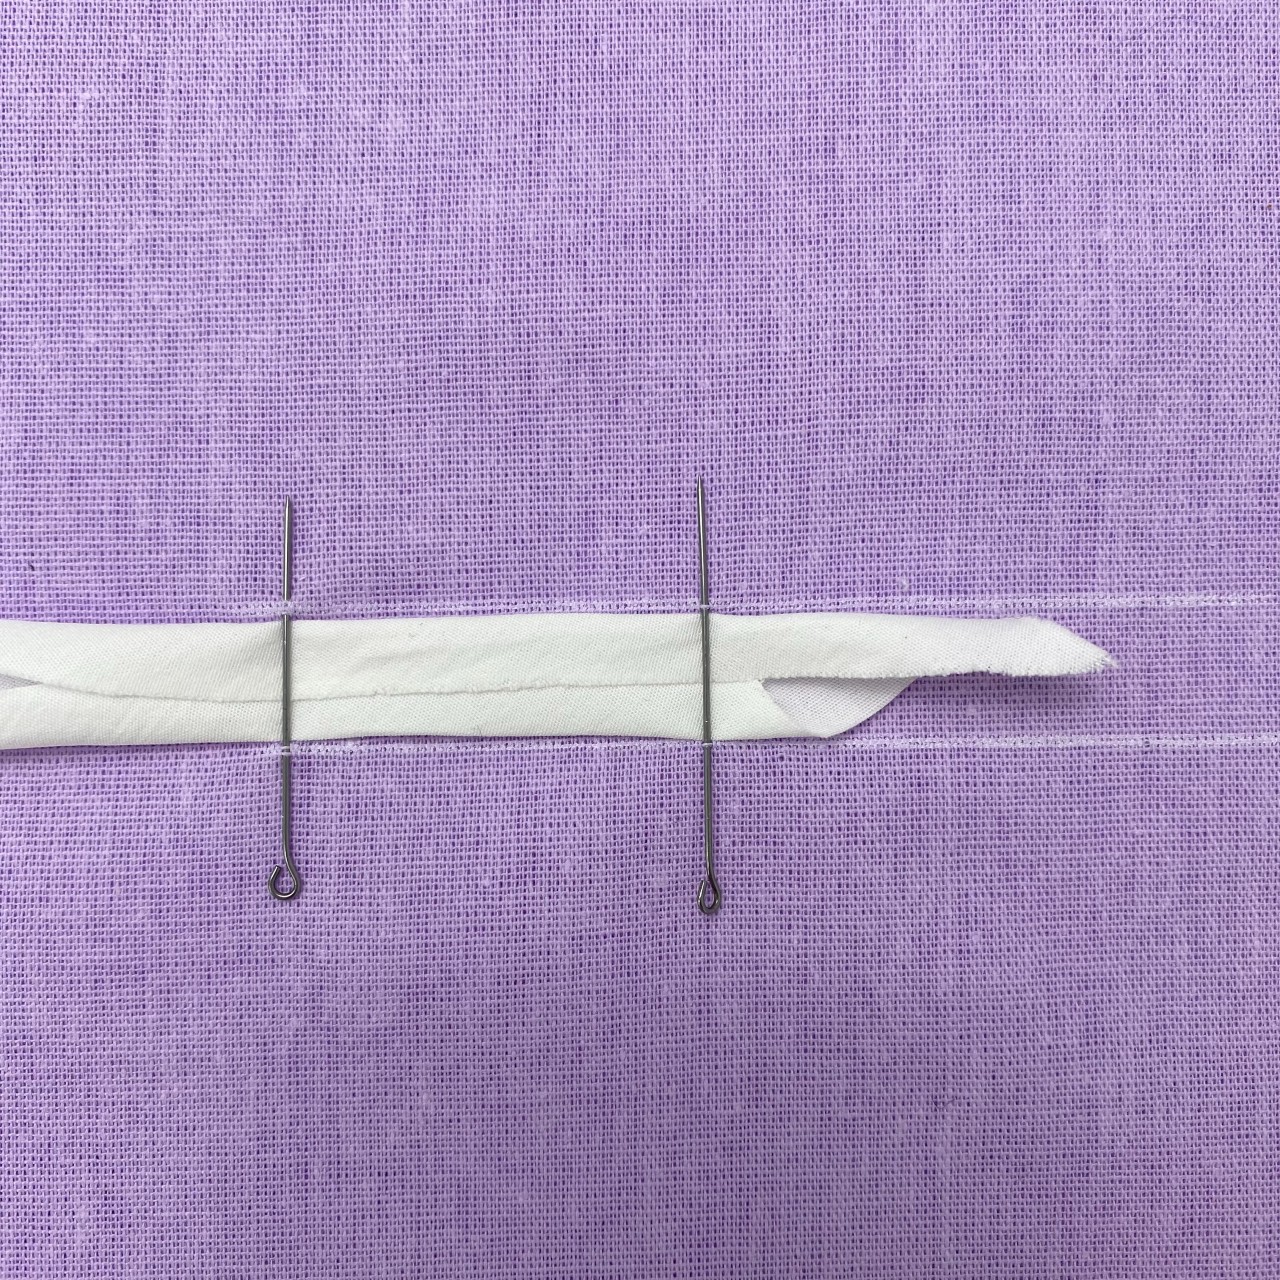
Repeat to insert the strip of fabric under the second pin.
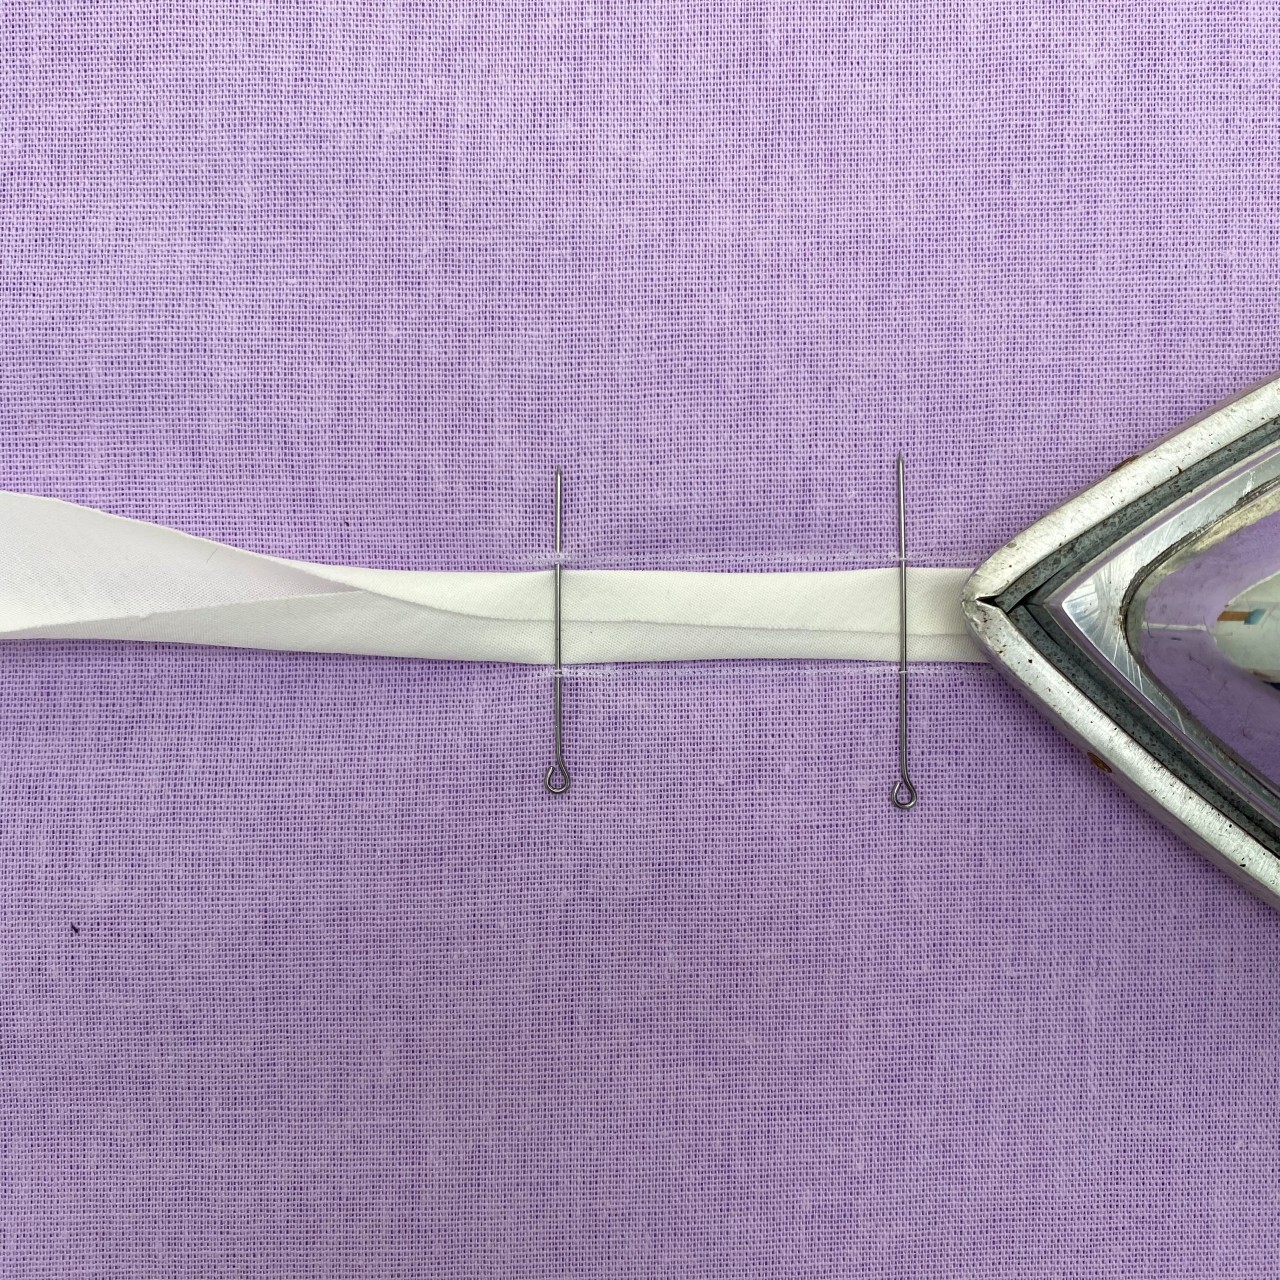
Carefully press the folded edges of the binding in between the pins.
Pull the strip of fabric and press it section-by-section to form the binding along its entire length.
Do you want to learn some other sewing tips? Find them here:


Здесь пока нет комментариев