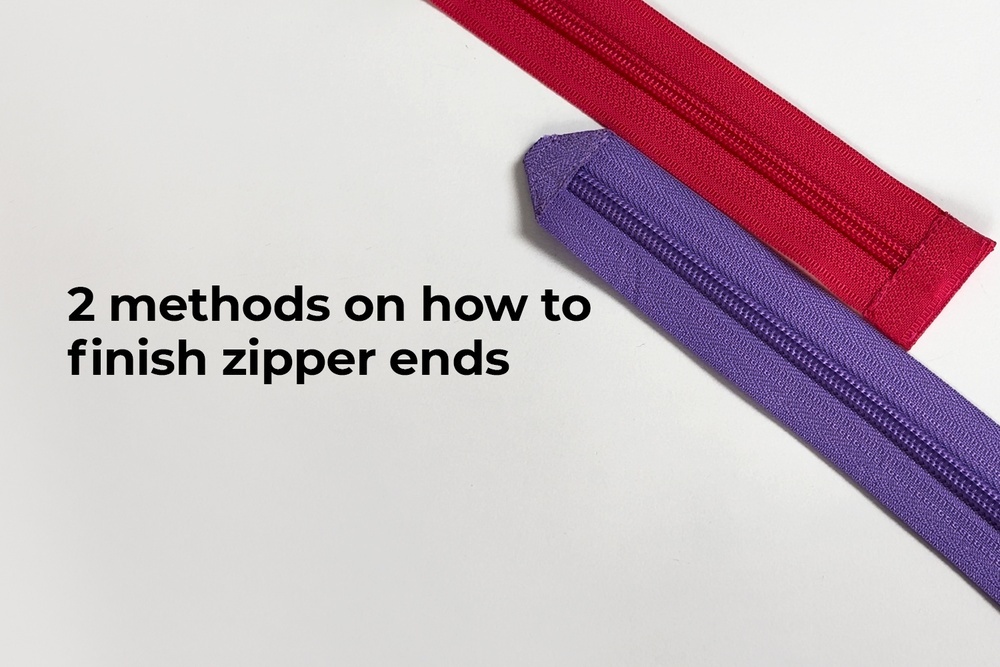
Our tutorial today is on how to finish zipper ends using the zipper tape. These two techniques can come in handy when you need to shorten a zipper. Read carefully and be sure to save this post. It’s definitely going to be useful.
First, shorten the zipper: measure the required length down from the top stop and add an extra 2−3 cm (about 1”) for finishing. Cut off the excess. Then, choose one of the two methods.
Method 1
- Cut off the zipper tape along the teeth on the zipper section that you’ve removed. Melt the edge with a lighter to prevent fraying.
- Place the zipper over the tape, 1 cm (3/8”) away from the edge, and cover the zipper with the other end of the tape. Trim any excess, leaving about 1 cm (3/8”) ends.
- Shape the tape piece into a ring and stitch at 1 cm (3/8”) from the edge.
- With the seam allowances facing in the opposite directions, turn the tape piece right side out.
- Put it onto the zipper end, overlapping the rigid part.
- Sew two parallel seams on the sewing machine, at 1−2 mm from the edges, securing the tape in place.
Method 2
- Cut off the teeth along 1.5−2 cm (5/8−3/4”) at the bottom edge of the zipper tape, leaving the tape intact. Make snips close to the teeth on both sides, cutting from the bottom edge upwards.
- Carefully remove the zipper teeth between the snips. Try not to damage the tape itself. Melt the ends with a lighter.
- Fold the corners of the zipper tape upwards, one at a time, to form a triangle. Cut off the excess or tuck it inside.
- Stitch along all the edges, securing the tape in place.
⠀These two techniques will help you handle zipper ends quickly and easily without having to use any other materials.
More sewing tips on how to work with zippers are here:


Здесь пока нет комментариев