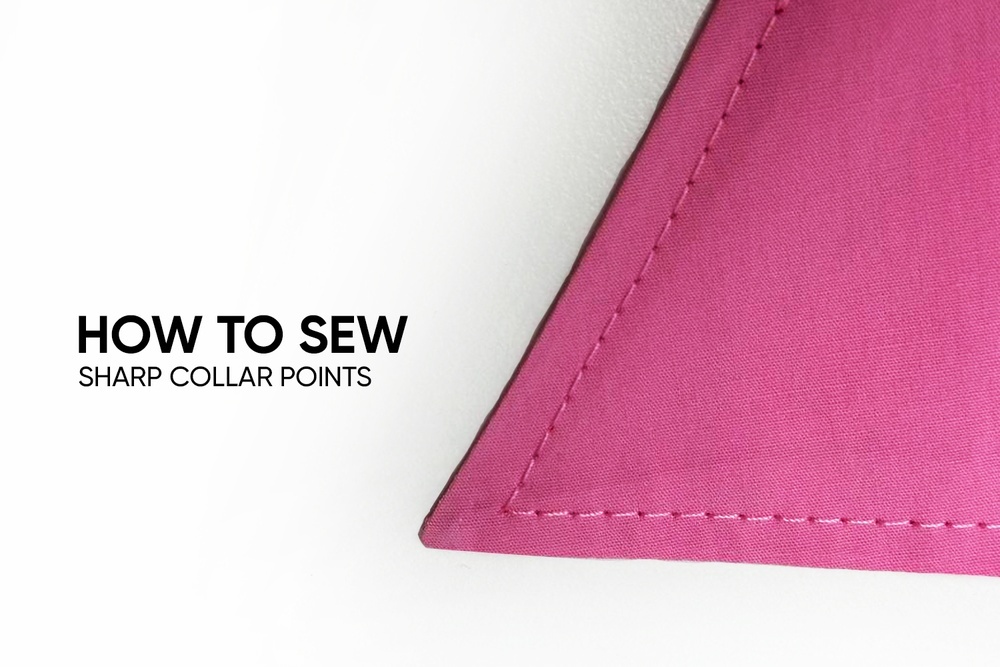
How to sew sharp collar points? Here are 2 methods to try. Add a bookmark to this blog post, and get back to it whenever you need.
Method 1
- Place the two collar pieces right sides together and stitch around three sides in one go. You can mark the seam allowance first for convenience.
- Before reaching the corner by one stitch, stop sewing, lower the needle, and lift the presser foot.
- Take a small amount of the sewing thread and slip it between the two collar layers right next to the needle.
- Lower the presser foot and make one stitch — you might use the hand wheel here to secure the thread with the stitch.
- Lower the needle, lift the presser foot once again, and turn the collar. Direct the thread ends towards the inside of the collar.
- Sew the second side.
- Trim the excess at the corners.
- Turn the collar right side out.
- Gently pull on the two thread ends. This technique helps crisply turn out the collar at the corners.
- Press the collar and remove the thread.
Method 2
- Place the two collar pieces right sides together and sew along the outer (longer) edge.
- Fold the seam allowances towards the undercollar and understitch 1 mm away from the seam.
- Trim the seam allowances by 2−3 mm (1/8”).
- Fold the collar right sides together, aligning the shorter sides. Direct the previously sewn seam allowances to the undercollar and stitch.
- Trim near the stitching at the corners, turn the collar right side out, and give it a good press.
Try both methods next time you’re sewing a shirt or dress with a shirt collar!
More posts with free sewing tips are here:
How to sew topstitched waistband
Flat-felled seam: how to finish edges on outerwear fabric and jeans


Здесь пока нет комментариев