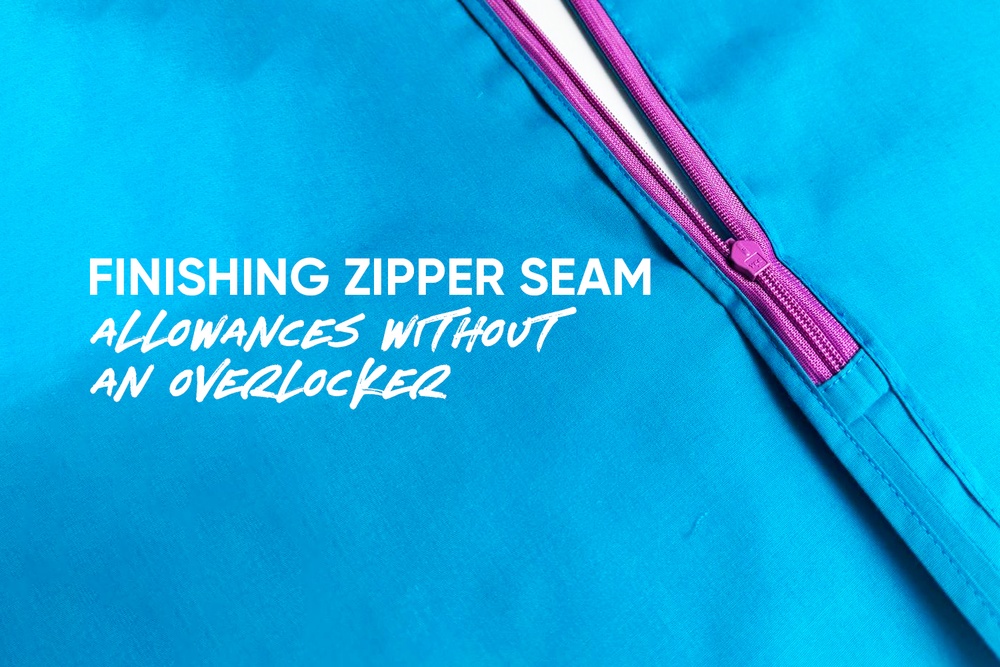
Wondering how to finish zipper seam allowances if you don’t have an overlocker or if you’re looking for a deluxe touch in your creation? Check out the new tutorial in the Vikisews sewing hacks series.
For this finish, you’ll need a larger seam allowance of 2.5 cm (about 1”).
Sewing steps:
1️. Attach the invisible zipper as usual. Press the seam allowances open. Trim any excess zipper tape.
2️. Bind the bottom edge of the zipper tape with the main fabric. To do so, cut out an 8×4 cm (3 1/8×1 5/8”) rectangle. Place it under the zipper aligning it with the bottom edge of the zipper tape and stitch it in place 1 cm (3/8”) away from the edge.
3️. Flip the rectangle down and fold the bottom edge under by 1 cm (3/8”). Wrap the zipper tape edge with the folded strip, covering the stitching line.
4️. Stitch a securing line 1 mm away from the edge. Trim the excess edges, aligning them with the sides of the zipper tape.
5️. Fold the excess seam allowance on both sides of the tape twice by 5 mm (just under 1/4») and press in place to cover the edges of the zipper tape.
6️. Fold the main piece out of the way and machine-stitch 1 mm away from the edge to secure the fold. Press the seams.
7️. Repeat the whole thing on the opposite side.
A beautiful and quick finish without any extra materials.
Remember when it was trendy to wear pants with the waistband turned wrong side out? With this type of finish, you can proudly show off the inside too :)
More posts with free sewing tutorials are here:


Здесь пока нет комментариев