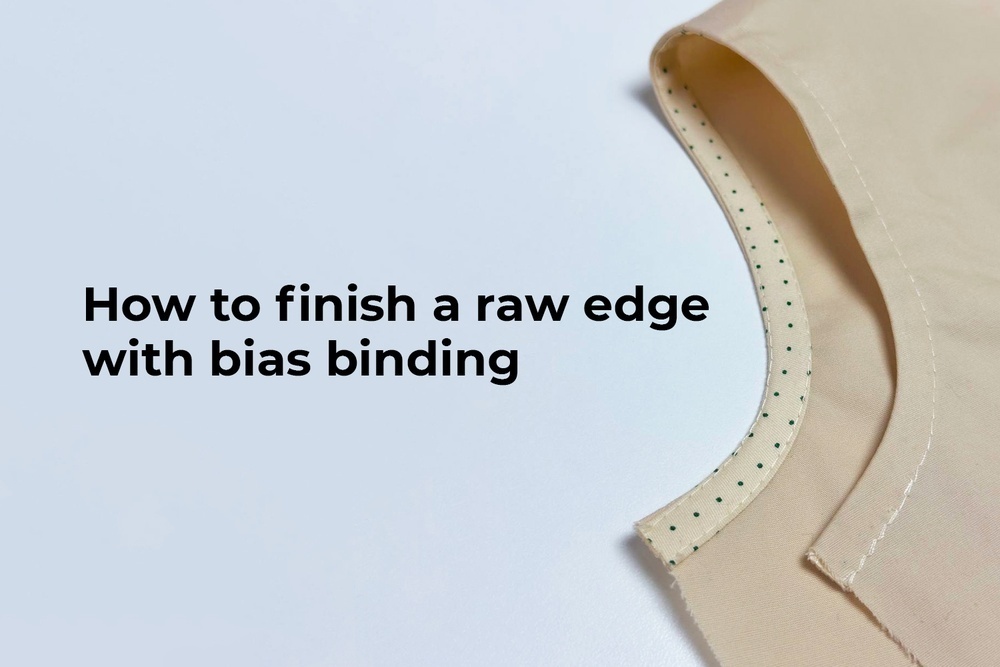
Learn a new way to finish a raw edge with bias binding with sewing hacks by Vikisews.
This technique is a game-changer if your project has a curved edge, like an armhole or neckline.
Here’s the process:
1️. Cut the bias binding at a 45-degree angle to the grain. The strip should be 3−3.5 cm (1 1/8−1 3/8”) wide.
2️. Place the bias binding right sides together with the garment, align the edges. Pin and stitch at 0.7−1 cm (1/4−3/8”) from the edge.
3️. Turn the bias binding upwards and press it towards to the seam allowance.
4️. Fold the bias binding over, encasing the seam allowance. Pin from the wrong side.
5️. Stitch along the bias binding from the right side, at 1−2 mm from the seam.
6️. On the wrong side, cut off the excess close to the seam.
7️. Flip the bias binding to the wrong side of your piece and stitch at 1−2 mm from the edge, thus securing it in place. As a result, you’ll have only one seam visible on the right side of the garment.
Looks great, doesn’t it?
Find more sewing tutorials here:
How to add an elastic waistband to your garment
Two methods on how to finish the slit at the hem of your garment


Здесь пока нет комментариев