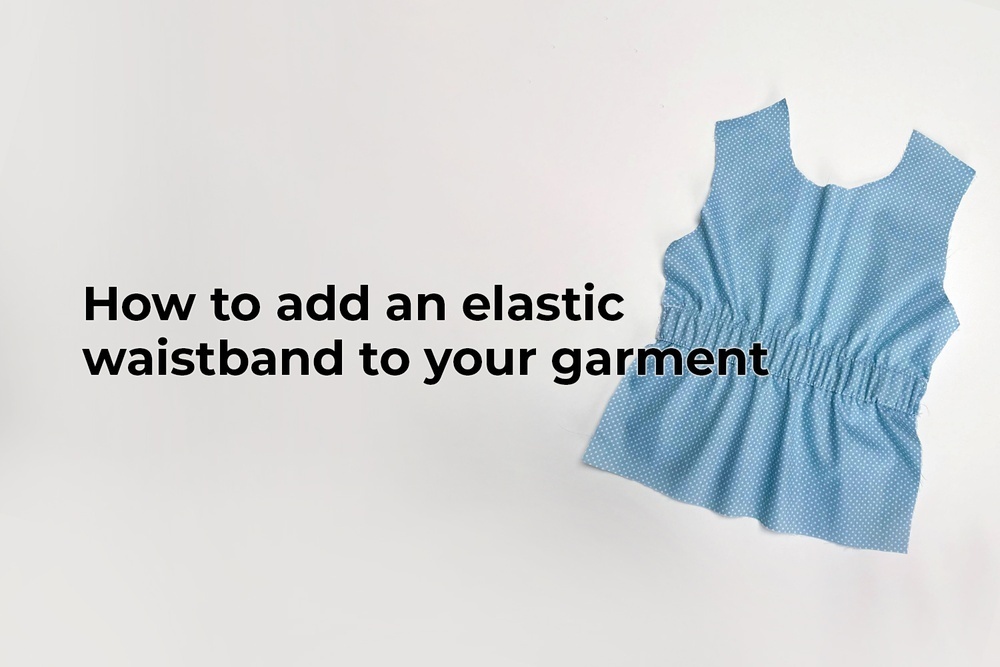
Check out this awesome sewing hack for adding an elastic waistband to your garment, even if it’s not included in the pattern! Save this step-by-step tutorial and master the art of creating a grown-on elastic waistband.
Step 1 — Adjusting the pattern:
1️. Cut the front pattern piece into two pieces along the waistline.
2️. Spread the cut pieces apart, leaving twice the width of the elastic between them. For example, if the elastic is 3 cm (1 1/8”) wide, add an extra 6 cm (2 1/4”). Cut out the newly created pattern piece.
Step 2 — Sewing:
1️. At the waistline, create and press a horizontal pleat as wide as the elastic.
2️. Sew one end of the elastic to the side edge at the waistline. Then sew the other end to the opposite side.
3️. Cover the elastic with the waistband and sew a line of stitches right along its lower edge, about 1 mm away from it.
4️. Flip the piece over and sew another line along the upper edge of the waistband, 1 mm away from it.
You can find a whole lot of other helpful sewing hacks in these posts:
How to add elastic to the bottom of your garment


Здесь пока нет комментариев