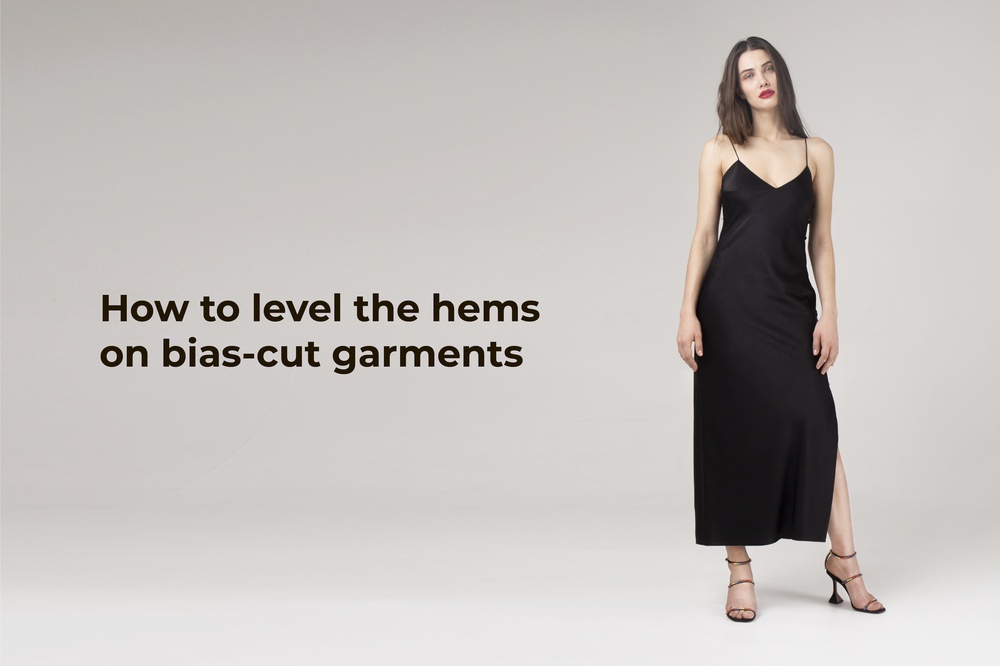
When you sew bias-cut garments, it’s very important to check the straightness of the bottom edge. Why? Because all woven fabrics stretch at an angle of 45 degrees, and so the bottom edge will grow in the bias cut areas due to the weight of the fabric but will stay the same in the areas cut on the grainline or the crosswise grain.
The more “fluid” the material is (ie the more loosely woven it is, for example, chiffon, crepe), the more it will stretch, and the bigger the difference in lengths will be.
That’s why it’s important to level the hems on dresses, skirts, and tops. We’ll tell you now how to do this.
By the time you’re ready to level the hem, the bias cut garment must be completely assembled and finished with the exception of the hem. Swipe to see photos of the process.
!!! To ensure maximum stretch, you can spray the garment with water and give it a good shake.
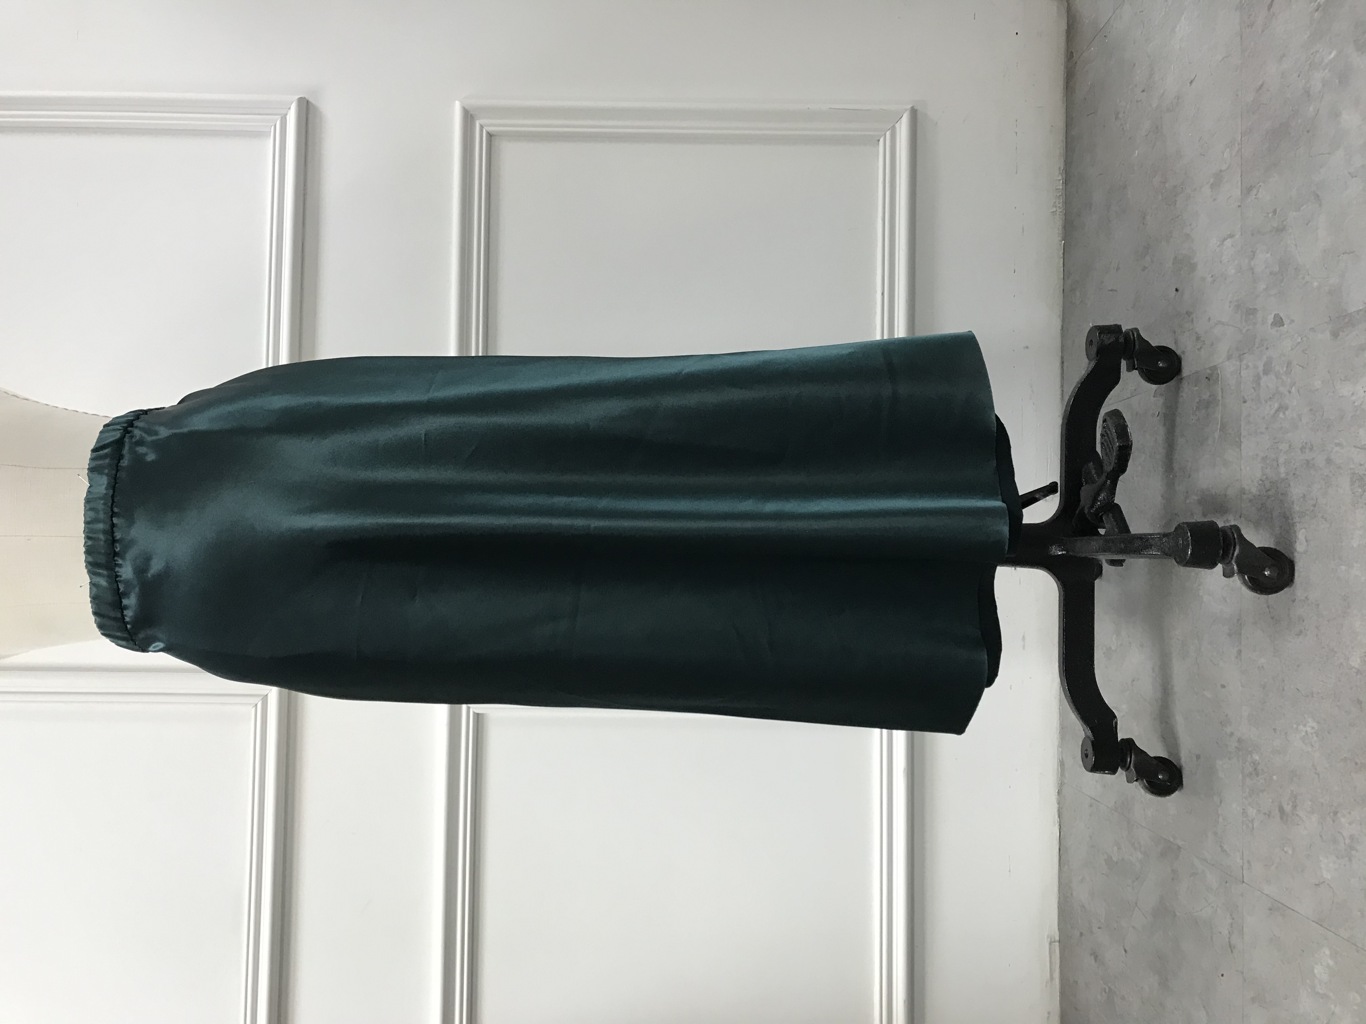
Step 1: Put the garment on (or pin it to) your dress form. If you don’t have a dress form, you can hang it on a hanger or pin it to the wall. Leave it on for a few hours. Take your time and do not rush, otherwise, you might be risking having your hem stretch after the garment is fully finished.
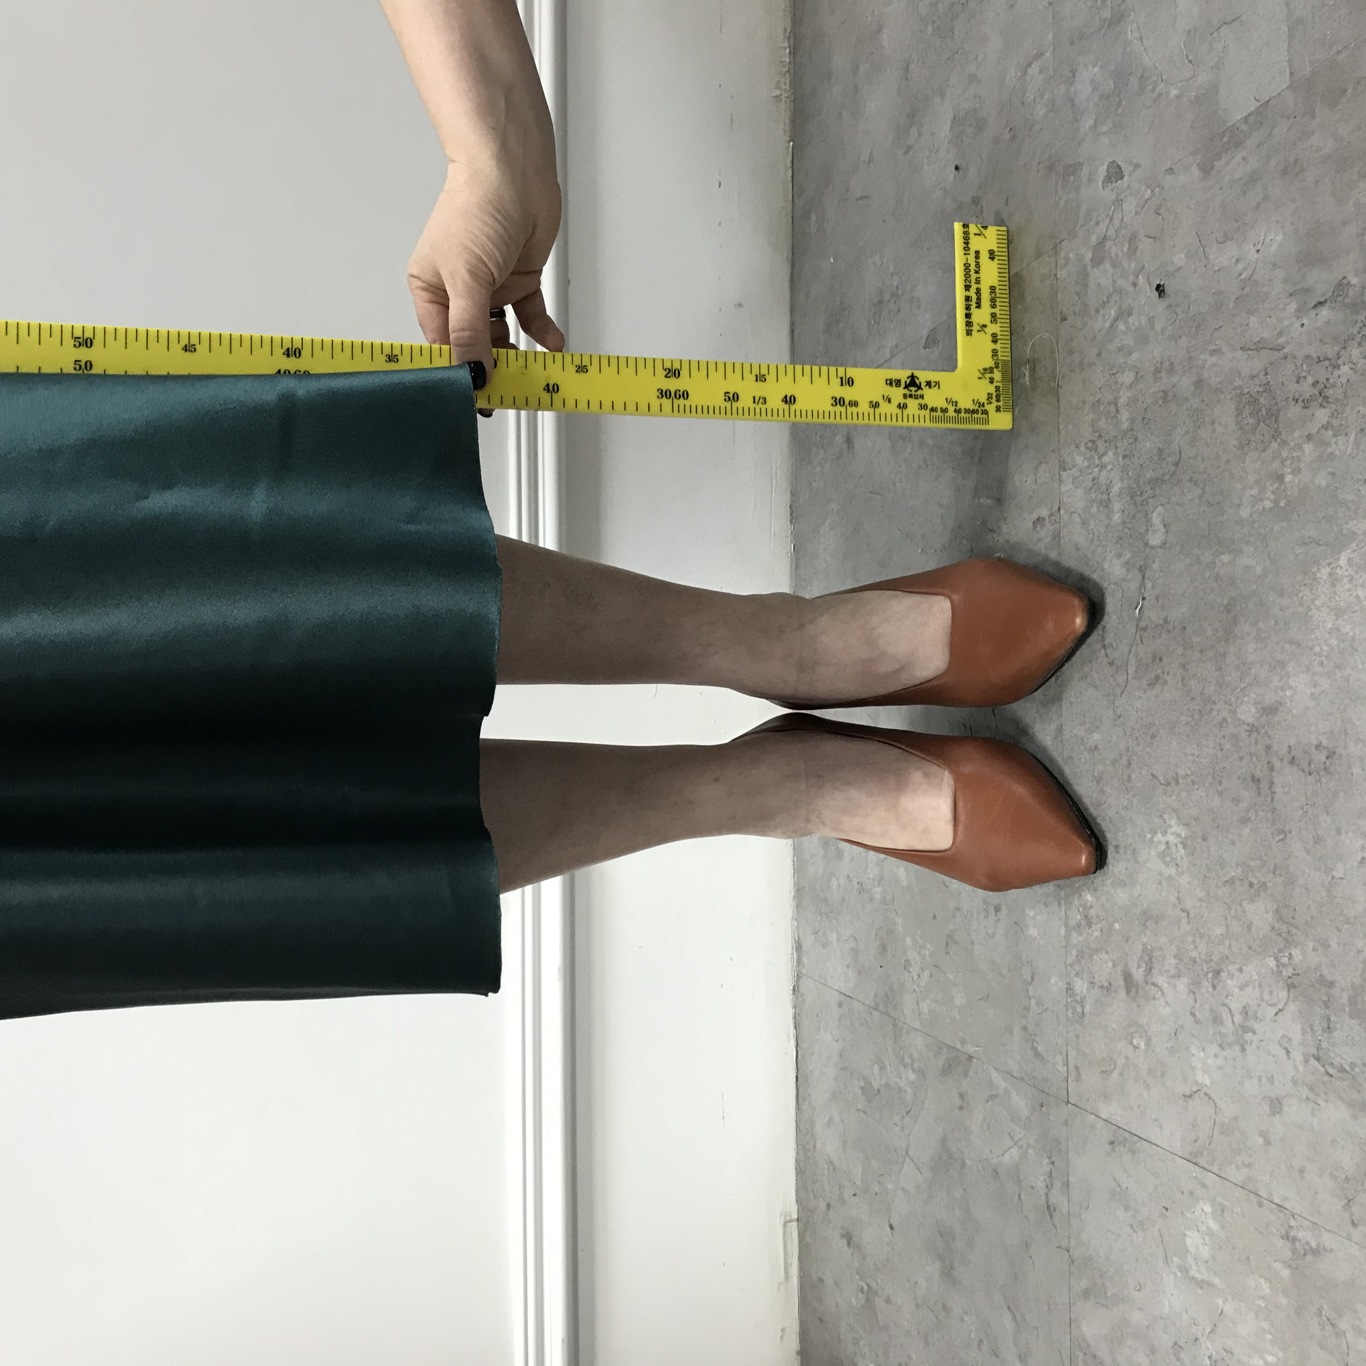
Step 2: You will need an assistant here. Try the garment on and measure the distance from the floor to the shortest hem level. This is usually at a side seam. Measure the same distance from the floor to the hem along the entire perimeter and mark it with chalk. The most convenient is to use a squared ruler for this job. The ruler should be positioned perpendicular to the floor.
Step 3: Place the garment on the table and connect the marks with a smooth line.
Step 4: Cut off the excess fabric.
Done.
Now you can use it sewing by the following Vikisews patterns: Sati skirt and Leysi, Freia, Goldi, Tiffany dresses


Здесь пока нет комментариев