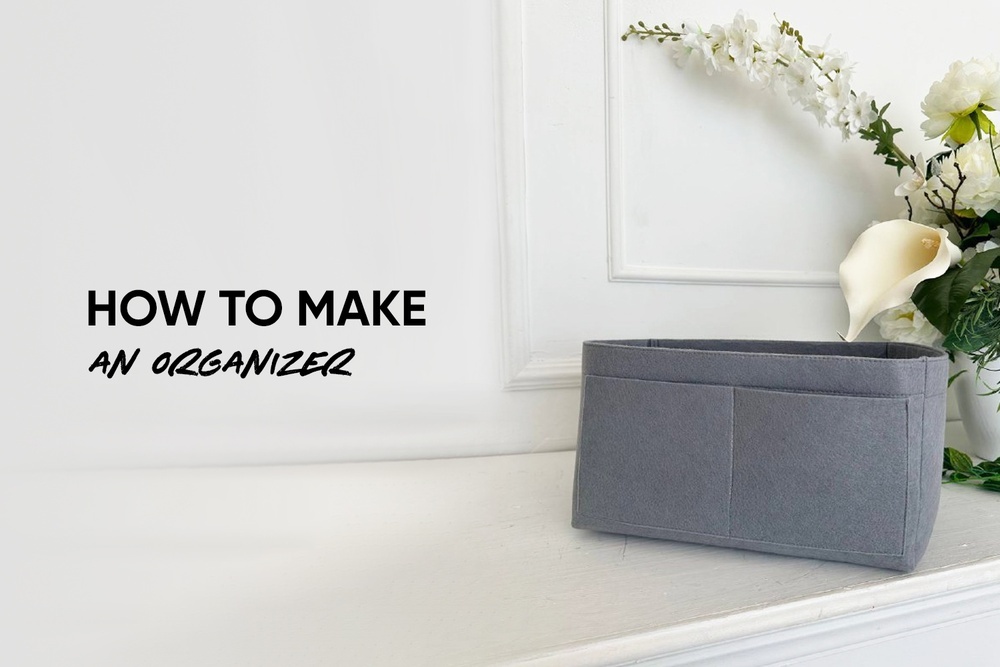
Have you noticed the addition to the Kum bag pattern — a felt organizer insert with outer and inner pockets? The insert pattern can be used to sew an organizer for lingerie, for example. Give it a try! And for help, check out the new video tutorial from the Vikisews sewing hacks series.
Mark the notches on the organizer’s body. Use chalk to trace auxiliary lines on all pocket pieces.
Sewing steps:
- Fold the organizer hem allowance under by 3 cm (1 1/8”) and secure it in place with two seams at 1 mm from the fold and the inner edge.
- Place outer pocket 1 to the right side of the organizer body and stitch along the center line.
- Flip the outer pocket to the left, turn the organizer body wrong side up, and place inner pocket 1 according to the marking. Stitch the left side of inner pocket 1 in place, finishing the bottom seam right at the center.
- Unpin the outer pocket and flip it to the right-hand side.
- Stitch the other side of the inner pocket in place.
- Edgestitch outer pocket 1 along the side and bottom edges.
- Form the gussets on the inner pocket 2 piece and stitch close to the fold lines.
- Place inner pocket 2 to the organizer body according to markings. Stitch along the side edges and the center line.
- Form pleats at the bottom and stitch along the bottom edge.
- Fold the top edge of the outer pocket 2 piece by 3 cm (1 1/8”) and secure it with two seams, at 1 mm from the fold and close to the edge.
- Place outer pocket 2 to the organizer body according to markings. Stitch along the side and bottom edges.
- Fold the organizer body in half, facing inwards, and align the side edges. Stitch from the top edge down to the bottom notch. Clip into the seam allowance at the notch.
- Align and stitch the bottom edges of the organizer on both sides.
- Trim the seam allowances down to 5 mm (just under 1/4”).
There are plenty of ways to use it! Head over to the Accessories section on Vikisews — an online store of ready-made sewing patterns, online sewing courses, and master classes — and grab the Kum bag pattern now.
Find some more free sewing tutorials here:




Здесь пока нет комментариев