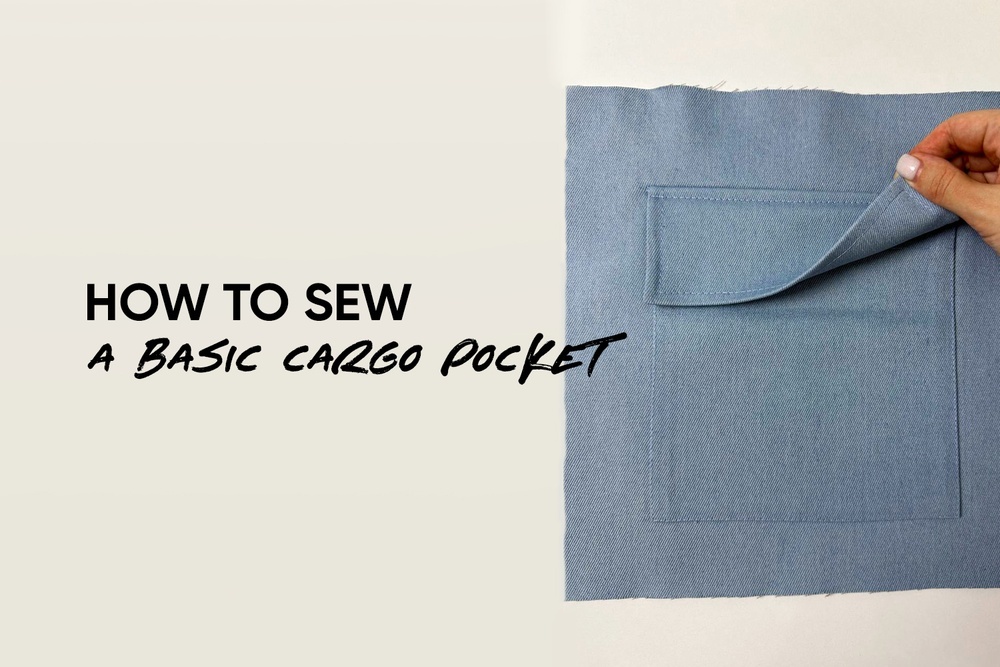
Check out this cool technique for a basic cargo pocket in today’s Vikisews sewing tutorial.
Cut out the following pieces:
- Pocket — 19.5×22 cm (7 5/8×8 5/8”)
- Flap — 19×15 cm (7 5/8×5 7/8”)
Before you start sewing, interface the top edge of the pocket with 2.5 cm (1”) wide stay tape and half the width of the flap piece.
Sewing steps:
- Overlock the top edge of the pocket. If the fabric frays, overlock all four sides. Press.
- Turn the top edge of the pocket to the wrong side by 2.5 cm (1”) and press. Stitch at 2 cm (3/4”) from the folded edge.
- Turn the bottom and two side edges of the pocket to the wrong side by 1.5 cm (5/8”).
- Place the pocket on the right side of the garment, aligning the edges with the marked pocket position. Pin or hand-baste and stitch at 1−2 mm from the edge, with 5 mm (about 1/4”) long bartacks at the pocket opening.
- Fold the flap in half, right side out, and press to create a crease.
- Fold the flap wrong side out, aligning the side edges. Stitch the sides at 1 cm (3/8”) from the edge. Clip the corners and trim the seam allowances down to 5 mm (just under 1/4”).
- Turn the flap right side out and press with the seams right on the edge.
- Stitch around the perimeter of the flap, at 5 mm (just under 1/4”) from the edge.
- Place the flap on the garment and stitch 1 cm (3/8”) above the pocket.
- Trim the seam allowances down to 5 mm (just under 1/4”). Fold the flap down and press.
- Stitch along the flap seam, at 5 mm (just under 1/4”) from the edge.
These pockets can be added to pants, skirts, and jackets. Cargo is still in style!
More sewing tutorials on Vikisews Blog:


Здесь пока нет комментариев