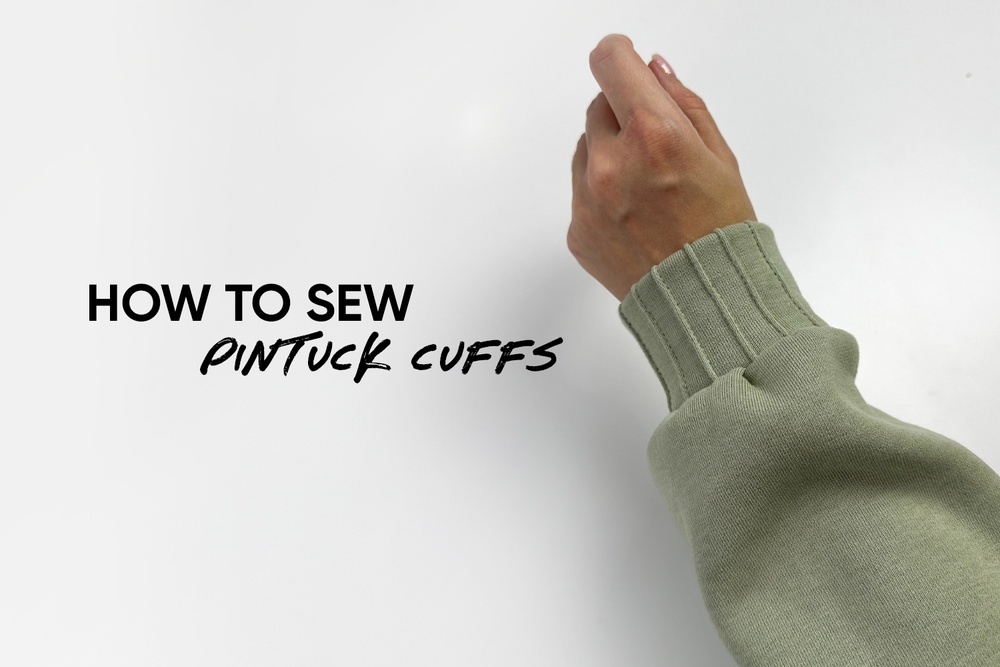
Check out how awesome it is to customize a cuff with pintucks, turning even simple hoodies or sweatshirts into something special. This is the new sewing hack tutorial in the Vikisews sewing hacks series.
1️. Cut a rectangular cuff piece out of the main sweatshirt fabric, adding extra length.
2️. Form 5−6 pintucks in the center of the piece. To do this, fold the cuff wrong sides together, creating a fold where you want it to be, and stitch a line 1−2 mm away from the fold. Similarly, form a fold and sew another line 1 cm (3/8”) away from the first tuck. Create 5 or 6 tucks this way.
3️. Try the cuff on your wrist to determine the comfortable size. Don’t forget to add seam allowances to the side seams.
4️. Fold the cuff right sides together and stitch the side seams, forming a loop.
5️. Turn the cuff right side out and press.
6️. Stitch the sleeve along the side seam, press the seam flat, and then press it to the back of the sleeve.
7️. Sew a line of gathering stitches along the bottom edge of the sleeve, 5 mm (just under 1/4”) away from the edge, and gather the sleeve to the cuff size.
8️. Insert the cuff into the sleeve, matching them right sides together, and stitch the pieces together all along the edge. Press the seam flat.
Check out for more free sewing tutorials by Vikisews:


Здесь пока нет комментариев