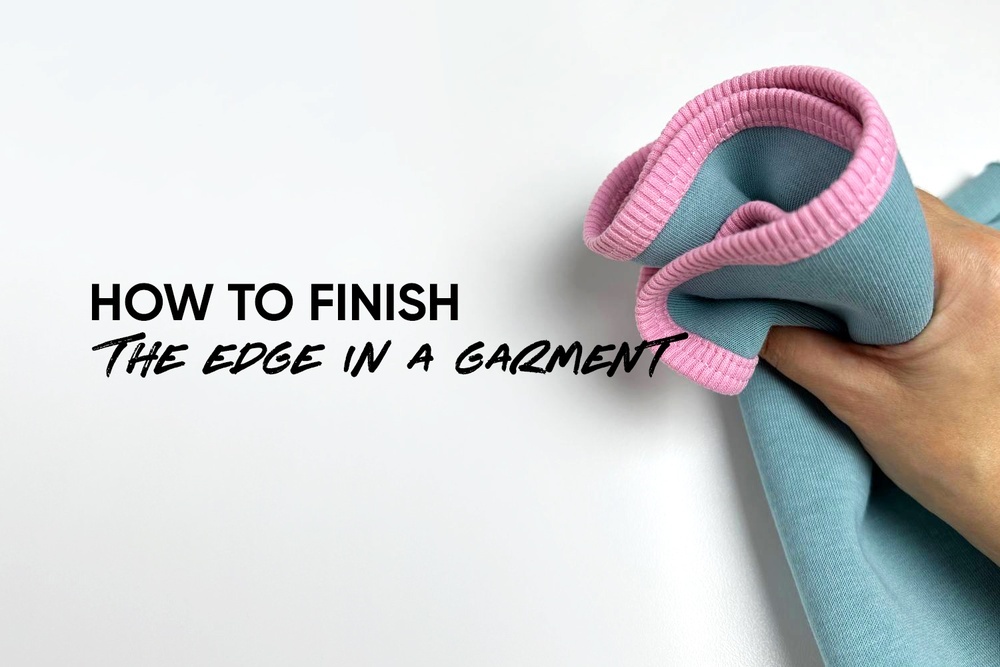
How to finish the edge in a garment made of knit fabric using an elastic binding? Here is a new tutorial part of the Vikisews sewing hacks series.
Where can this technique be applied? It can be used to finish the garment or sleeve hems, the neckline edge, and the edges in garments for babies and children.
To do so, you will need a strip of ribbing that is 3–3.5 cm (1 1/8–1 3/8") wide. The grainline runs along the short side of the binding.
Step-by-step process:
1️. Fold one short end of the binding to the wrong side by 0.5–1 cm (1/4–3/8").
2️. Place the binding right sides together with the garment, matching the folded edge of the binding with the seam on the garment. Align the edges and stitch the binding in place across its entire length, either on the overlocker or on the sewing machine (using an elastic stitch setting). Slightly stretch the binding while sewing, matching it to the length of the edge of the garment.
3️. Press the seam, fold the binding over the seam allowances, and press in place. Do not stretch the binding while pressing, but rather press it section by section.
4️. Wrap the free edge of the binding over the edge of the garment, toward the wrong side, and hand-baste it in place.
5️. Use a coverstitch machine and work from the right side to secure the binding at 1–2 mm from the previous seam. As an alternative, use a twin needle on the sewing machine.
6️. Remove the basting stitches and press the finished edge. Trim the extra binding width on the wrong side of the garment close to the seam.
Find more free sewing tutorials here:
Finishing a hem without an overlocker


Здесь пока нет комментариев