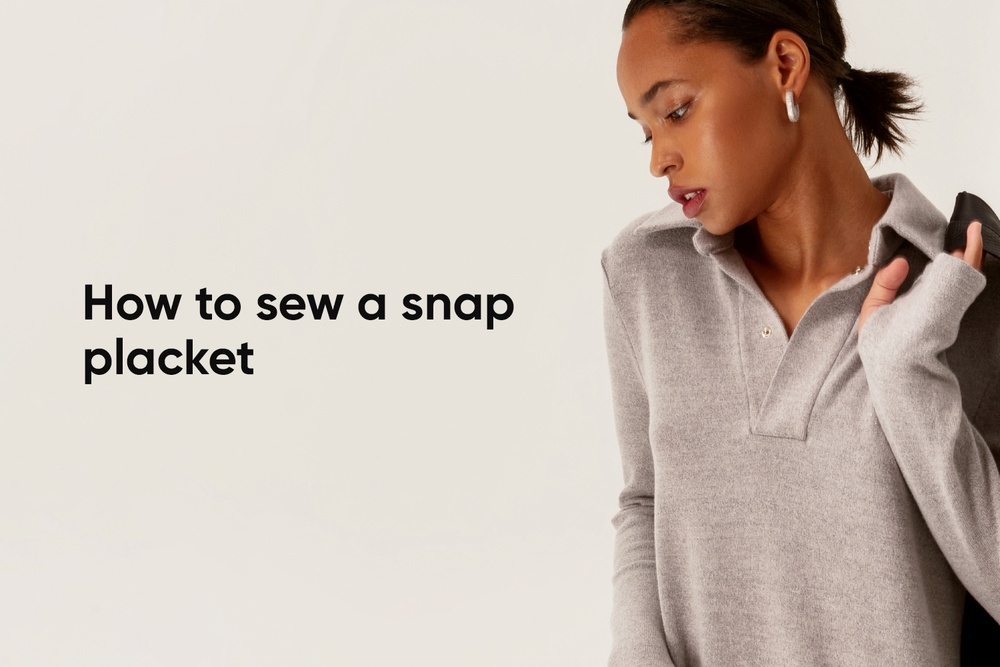
Let’s talk about the polo collar. This trendy design brings us to the oh-so-popular old-money style. Want to learn how to sew a snap placket on a polo dress or shirt? Then check out this sewing tutorial based on the Andie dress pattern.
Interfacing:
- Fully interface the placket pieces and then apply stitch-reinforced stay tape to one long edge and the bottom edge of each piece. Additionally, reinforce the snap placement areas for extra durability.
- Reinforce the bottom edge of the placket cutout on the front piece.
Sewing:
- On the placket pieces, install the snaps as marked. The “male” part of the snap (the stud) goes on the right placket, and the “female” part (the socket) on the left.
- Along one side of the placket with no stay tape applied, sew a line 0.9 cm (just under 3/8”) from the edge. Fold the seam allowance to the wrong side by 1 cm (3/8”), following the line, and press it.
- Place the placket pieces right sides together with the front piece, align the edges along the cutout, and stitch with a 1 cm (3/8”) seam allowance stopping 1 cm (3/8”) short of the placket’s bottom edge. Backstitch at the beginning and end of the seams. Press the seam allowances towards the placket.
- Fold the placket pieces in half lengthwise and give them a good press.
- Clip into the seam allowances at the bottom edge of the placket stopping 2 mm short of the seam.
- Turn the placket to the right side and stitch in the ditch of the placket seam, attaching the other side.
- Stitch a securing line on the right placket at 1 mm from the edge.
- Turn the bottom ends of the placket to the inside and stitch from one corner to the other.
- Finish the bottom seam allowance of the placket on the overlocker. Hide the thread tails inside the seam allowance.
And it’s ready!
More useful sewing hacks are here:
Finishing a hem without an overlocker


Здесь пока нет комментариев